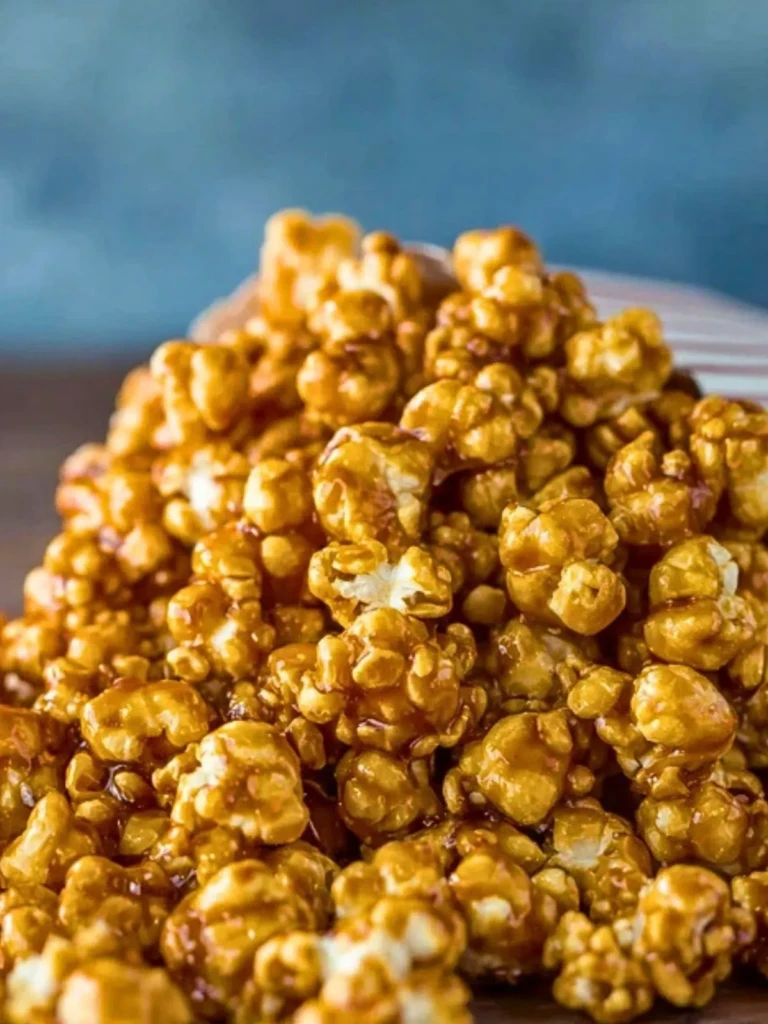
This Amish caramel corn delivers a thick, crackly shell of golden caramel wrapped around every piece. It’s the kind of treat you can hear before you taste—a sharp, satisfying crunch followed by a buttery melt.
What sets this apart is the deeply caramelized, slow-cooked syrup that doesn’t just sweeten the popcorn but hugs it in a toasty, buttery glaze. It turns every kernel into something rich and almost candy-like, without ever getting too sticky or soft.
I’ve tried a lot of caramel corn recipes over the years, but this one captures the flavor and finish I always crave. It bakes low and slow, which gives the coating time to dry into that perfect crispness without any burned sugar notes. It’s also completely free of corn syrup, and somehow, that makes it feel even more old-fashioned and indulgent.

The Brown Sugar-Butter Base Makes All the Difference
This caramel starts with equal parts butter and brown sugar—the balance here is key. The butter adds richness and helps carry the flavors, while the brown sugar gives the caramel its deep, almost toffee-like notes. I use dark brown sugar for a stronger molasses backbone, but light works too if you want something milder.
You melt them together slowly, letting the sugar fully dissolve before you stir in baking soda and vanilla. The soda is what gives the caramel its signature light crunch, creating tiny air bubbles that make the coating feel airy rather than hard.
Popcorn Prep That Prevents Sogginess
Use freshly popped popcorn that’s completely plain—no butter, no salt. I usually air-pop mine or do it on the stovetop with just a splash of oil. The most important part? Making sure it’s totally free of unpopped kernels. I shake it in a mesh strainer to sift them out.
I also spread the popcorn on a large baking sheet before pouring the caramel. This helps me coat everything evenly and avoids creating sticky clumps.
Oven Baking Brings the Signature Crunch
After coating the popcorn, it bakes at a low temperature for almost an hour. This step is non-negotiable. It’s what dries out the caramel and gives it that shiny, crisp shell. Skipping it leaves you with a chewy, sticky mess that won’t keep well.
I stir the popcorn every 15 minutes while it bakes, gently tossing it with a spatula to make sure it stays separate and evenly crisped. The smell while it bakes is pure nostalgia: buttery sugar with a warm hint of toasted corn.
Low and Slow: How the Caramel Hardens as It Bakes
Once the caramel is poured and the popcorn is well coated, the whole tray goes into a 250°F oven. I bake it for about 45 minutes to an hour, stirring every 15. The low heat keeps the sugar from burning while transforming the gooey caramel into a crisp, golden shell.
The first time I made this, I was tempted to turn up the heat to speed things along—don’t. Higher temps make the sugar seize and darken too fast. Instead, watch how the caramel becomes glossier and tighter with each stir. That’s the sign it’s drying out correctly.
By the final stir, the popcorn should feel light and snappy, not tacky. Let it cool completely on the tray before you move it. As it sits, it continues to crisp up into that perfect brittle crunch.
This is also a great make-ahead treat. You can make it a day or two in advance and it actually gets better as it settles into its texture.
Serving Notes and Simple Ways to Store Leftovers
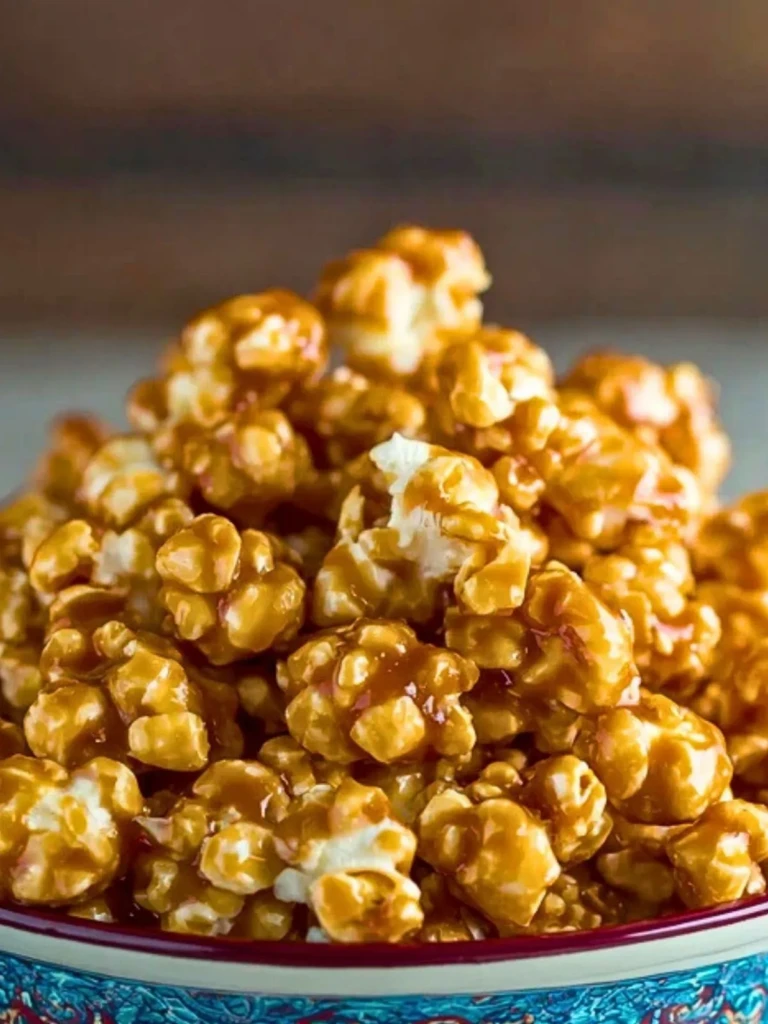
I usually serve this caramel corn in big bowls for movie nights or pack it into mason jars tied with twine for easy, nostalgic gifts. It’s festive without trying too hard, and everyone loves the shiny golden coating that snaps when you bite in.
If you’re making it ahead, let it cool completely before storing. I use airtight tins or resealable bags, and it keeps perfectly crisp for up to 10 days at room temperature. No need to refrigerate—moisture is the enemy of crunch here.
Avoid storing it in humid environments or near the stove, or it might lose its crisp shell. If it softens slightly, a quick 5-minute warm-up in the oven on a baking sheet can revive it beautifully.
This also makes a great topping for sundaes or milkshakes. Just crumble a handful on top and let the caramel melt slightly into the ice cream—it’s outrageously good.
Why This Caramel Corn Belongs in Your Cold Weather Lineup
This is the kind of recipe that makes sense when the days get shorter and you want something cozy to snack on while staying in. It smells like a bakery and tastes like a fairground classic. I always associate it with holiday tins and crisp fall weekends, when something sweet and crunchy just feels right.
It also fits beautifully into gifting season. One big batch fills several jars or treat bags, and it holds up better than cookies when shipping. It’s my go-to when I want to give something homemade but don’t have time to bake every day leading up to the holidays.
Compared to other versions I’ve tried—especially microwave or stovetop-only recipes—this one delivers on both flavor and structure. The oven time makes all the difference, and the buttery, caramel shell doesn’t get gritty or overly sweet. It’s the kind of recipe that earns its place in your seasonal rotation year after year.
Before You Go, Pin and Comment Below
If this Amish caramel corn makes it into your regular snack rotation, be sure to pin it to your “Holiday Treats” or “DIY Gifts” board so you don’t lose it. It’s one of those recipes that always surprises people with how simple it is to make.
Tried it with a twist? Maybe added cinnamon or drizzled with chocolate? I’d love to hear how you made it your own. Drop a comment below and let me know what worked (or didn’t!).
And if you’re making it with kids, definitely share your snack station setups—this one gets devoured fast!
Print
Amish Caramel Corn: Buttery, Crunchy, and Totally Addictive
- Total Time: 1 hour 10 minutes
- Yield: About 20 cups
- Diet: Vegetarian
Description
This Amish caramel corn is coated in a buttery brown sugar glaze that bakes into a crackly, golden shell—perfect for gifting, snacking, or topping desserts.
Ingredients
6 quarts plain popped popcorn
1 cup unsalted butter
2 cups packed brown sugar
1/2 teaspoon salt
1/2 teaspoon baking soda
1 teaspoon vanilla extract
Instructions
1. Preheat your oven to 250°F (120°C). Line two large baking sheets with parchment paper.
2. Place the popped popcorn into a large mixing bowl, ensuring there are no unpopped kernels.
3. In a medium saucepan, melt the butter over medium heat. Stir in the brown sugar and salt, then bring to a gentle boil while stirring.
4. Once it begins to boil, stop stirring and allow it to simmer for 4-5 minutes undisturbed.
5. Remove from heat, and quickly stir in the baking soda and vanilla extract. The mixture will foam up—this is normal.
6. Immediately pour the hot caramel over the popcorn. Stir well to coat as evenly as possible.
7. Spread the caramel-coated popcorn onto the prepared baking sheets in an even layer.
8. Bake for 45 minutes, stirring every 15 minutes to redistribute the caramel.
9. Once done, remove from the oven and let the popcorn cool completely.
10. Break into pieces and store in an airtight container.
Notes
Use freshly popped, unsalted popcorn for the best texture.
Make sure the caramel mixture foams well—it helps create the crisp shell.
Let the popcorn cool completely before storing to maintain crunch.
- Prep Time: 10 minutes
- Cook Time: 1 hour
- Category: Snack
- Method: Baked
- Cuisine: Amish, American
Nutrition
- Serving Size: 1 cup
- Calories: 190
- Sugar: 18g
- Sodium: 90mg
- Fat: 9g
- Saturated Fat: 5g
- Unsaturated Fat: 3.5g
- Trans Fat: 0g
- Carbohydrates: 28g
- Fiber: 1g
- Protein: 1g
- Cholesterol: 20mg
Keywords: caramel corn, popcorn, homemade snack, baked treats