If you’re looking for a comforting dessert that comes together with pantry basics and delivers bakery-level satisfaction, these Butterscotch Bars are the recipe to trust. You’ll learn not only how to make the moistest bars imaginable, but also why each step and ingredient choice ensures their buttery softness and deep caramelized flavor.
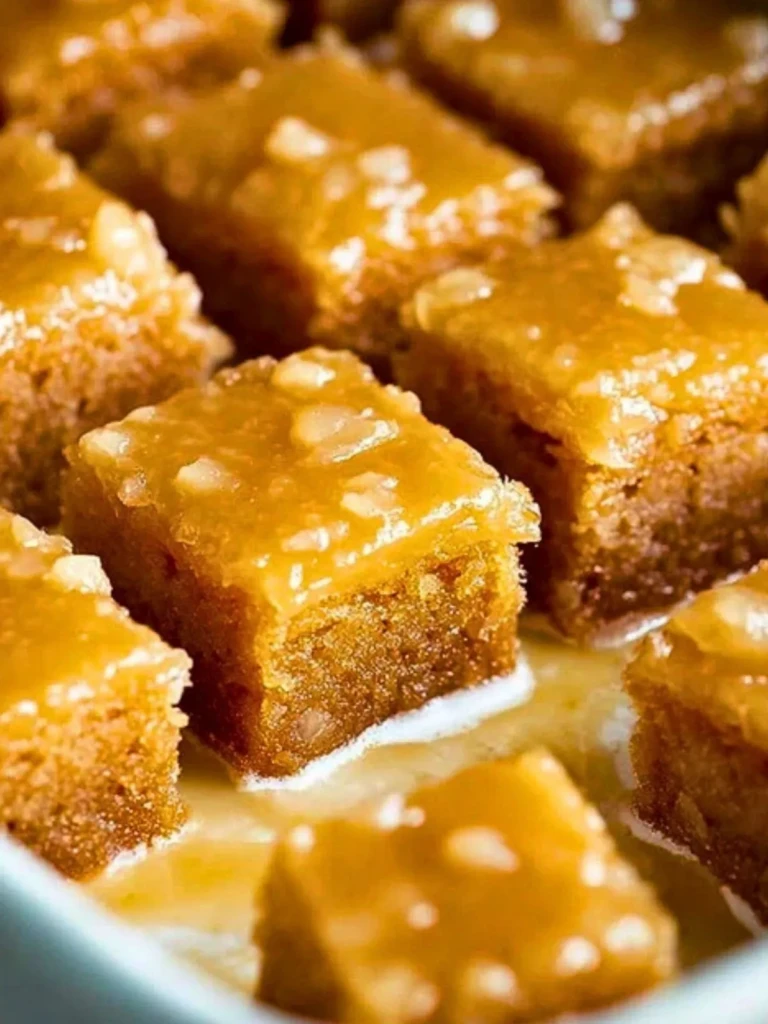
Unlike many blondies or cookie bars that can feel overly dense or underwhelming in flavor, these bars find their identity in a rich butterscotch base, finished with a glossy cooked sauce that seeps into every corner. That lush finish isn’t just for looks – it transforms the crumb into something resembling a hybrid between pudding cake and buttery shortbread.
Within the wide world of Southern desserts, this one stands out for its satisfying balance of sweetness and warmth. It leans less on crunchy texture and more on gooey decadence, making it a perfect finish for casual gatherings or family-style meals. If you’re tired of dry bar recipes that look better than they taste, you’re in the right place.
When you bring these Butterscotch Bars to the table, you offer more than dessert. You serve nostalgia, indulgence, and something genuinely impressive from the simplest ingredients.

Ingredients for the Butterscotch Bars
The base of these bars begins with light brown sugar, and the choice of this over dark brown sugar is deliberate. Light brown sugar creates a balanced butterscotch flavor without veering into molasses-heavy territory, which can sometimes overpower the other notes. It also gives a more controlled moisture content, allowing the bars to stay tender without becoming sticky.
Unsalted butter is preferred to control the salt levels, and it’s melted directly into the sugar to form the foundational butterscotch paste. This method dissolves the sugar slightly, giving the bars their smooth crumb and rich mouthfeel. I tested creamed butter and sugar versus this melted approach, and the latter created a noticeably silkier texture.
Large eggs are essential for structure, and using two provides the right balance of richness and lift. They bind the bars without turning them cakey, especially when paired with all-purpose flour. I tested versions with self-rising flour and cake flour, and neither delivered the same chewy-yet-tender consistency.
Vanilla extract adds aromatic depth, echoing the warmth of the butterscotch. While imitation vanilla will do in a pinch, real vanilla extract rounds out the flavor and enhances the buttery tones.
For the sauce, the combination of butter, more brown sugar, heavy cream, and vanilla creates a cooked butterscotch glaze that finishes the bars with a satiny layer. The cream is non-negotiable here – milk simply doesn’t thicken or enrich the glaze in the same way. If you’re looking for a dairy-free option, full-fat coconut milk comes closest in both body and flavor.
This dessert shares its base logic with recipes like caramel poke cakes or sticky toffee pudding: a warm cake enriched by a sauce that gets absorbed as it rests. That technique is key to transforming the bars from good to unforgettable.
Choosing Between Light and Dark Brown Sugar
When developing these bars, one of the most defining decisions came down to whether to use light or dark brown sugar. Light brown sugar ultimately proved the better choice for this specific texture and flavor profile. It delivers a clean, buttery caramel note that supports rather than dominates the other ingredients. Dark brown sugar, while deeply flavorful, contributed a molasses intensity that shifted the tone of the bars closer to gingerbread or spice cake. That deeper hue also made it harder to gauge doneness visually.
If you’re after a more assertive, rustic dessert with winter spice undertones, dark brown sugar is a valid option. But for a versatile bar with wide appeal and a polished finish, light brown sugar wins. It plays well with the vanilla and butter, and it also gives the finished glaze a glossy, golden sheen rather than the deeper, matte look that dark sugar produces.
Cost-wise, both sugars are comparable, and most home pantries will have at least one of them. So while the switch won’t break the recipe, it absolutely shifts the personality of the bars. Light brown sugar keeps them delicate and dessert-forward. Dark brown sugar makes them earthier and more rustic. Both are delicious, but your choice should match the tone you want on the table.
The Warm Pour That Protects the Texture
One essential technique that makes these bars stand out is the timing and temperature of the sauce pour. Rather than letting the sauce cool completely, I pour it while still warm over the freshly baked bars. This timing allows the sauce to penetrate the surface just enough to marry with the crumb without soaking all the way through. It creates a tender top layer while keeping the bottom soft but structured.
The science behind this lies in the porous structure of baked goods straight from the oven. When warm, their starches haven’t yet firmed up fully, making them more receptive to absorbing flavorful liquids. Pour the sauce too early, and it sinks unevenly or breaks the crumb. Too late, and it just sits on top like frosting. The right moment is five to eight minutes out of the oven, when the bars are set but still warm.
This warm pour technique also protects against the common concern of soggy bottoms or sticky middles. The key is that the sauce acts more like a soak than a glaze, and controlling when and how it’s applied makes all the difference.
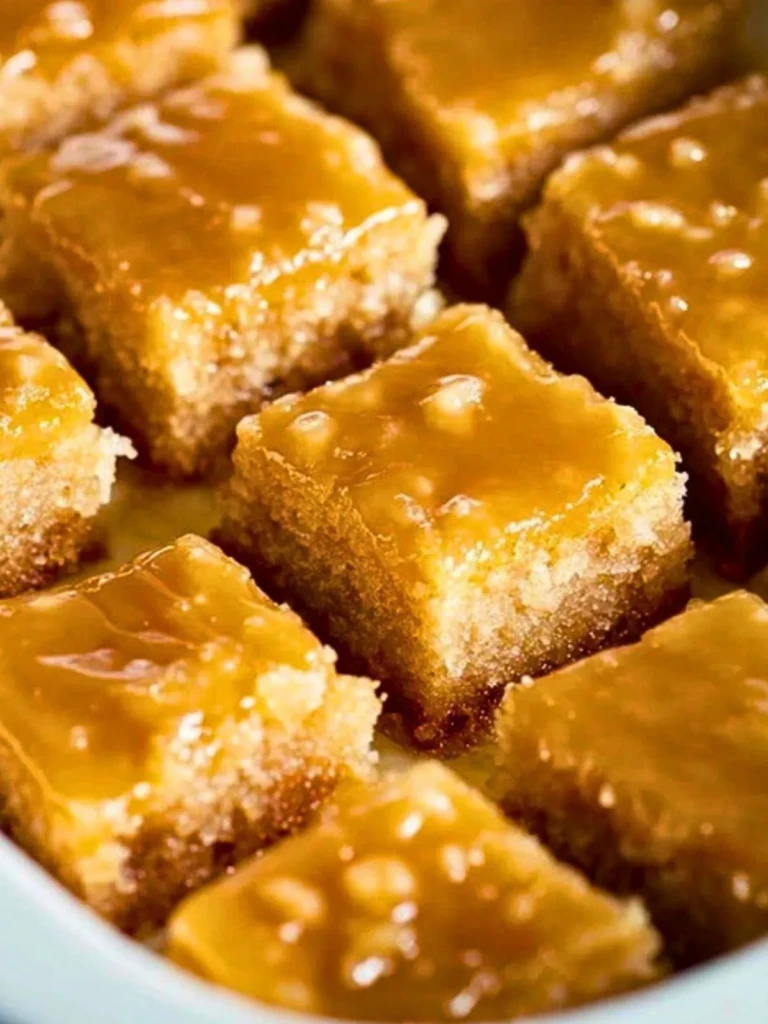
Visually, you’re looking for a subtle sheen across the top that sets into a silky surface as it cools. You’ll know it worked if the bars cut cleanly and the sauce stays intact with each square. This method is drawn from similar techniques in Southern poke cakes and bread puddings, where the contrast between soaked and unsoaked areas defines the final bite.
Serving and Storing Butterscotch Bars
For the most polished presentation, I recommend letting the bars cool completely in the pan before slicing. This step helps the sauce set just enough to slice cleanly while still offering that decadent softness. Use a hot knife, wiped clean between cuts, to get bakery-style edges that show off the golden gloss of the glaze.
These bars are especially satisfying when served just slightly warm, either from being freshly baked or gently reheated for 10 seconds in the microwave. The warmth reactivates the sauce’s silkiness and makes the butterscotch aroma bloom again. They’re ideal for casual gatherings, potlucks, or quiet evenings with coffee or milk.
As for make-ahead strategy, this recipe shines. The bars can be made a full day in advance, and in fact, the flavor deepens slightly overnight as the sauce melds with the base. Store them in the pan covered with foil or plastic wrap at room temperature for up to three days. For longer storage, refrigerate them in an airtight container and allow them to come to room temperature or warm slightly before serving.
These principles apply to other syrup-glazed or sauce-soaked desserts like sticky date cake or tres leches cake. Their flavor continues to evolve, making them even better after resting. Just avoid stacking or tightly packing the bars, as the surface glaze can smudge and lose its clean finish.
A Quick Note on Comparisons With Other Bar Desserts
While technically a bar dessert, these Butterscotch Bars behave more like a warm cake with a sauce component than a classic cookie bar. Where chocolate chip blondies lean into density and texture contrast, this recipe focuses on melt-in-your-mouth softness and a syrup-glazed top. The closest comparison in function and finish might be a poke cake or even sticky toffee pudding, both of which rely on a post-bake addition of moisture to enhance flavor and texture.
Classic butterscotch squares often rely on just brown sugar and butter for flavor, without the cooked glaze or careful timing. That shortcut version can be quicker, but it sacrifices complexity. By cooking the sauce and layering it onto warm bars, we create a two-tiered flavor effect: caramelized depth from the base and fresh butterscotch brightness from the topping.
Feedback from testers often highlights the unique balance between homey and elegant. These bars feel nostalgic but refined, thanks to the satiny glaze and clean finish. They’re especially well-suited to events where you want something easy to serve but with an upscale finish – think church picnics, potlucks, or family holidays.
Another recipe that demonstrates a similar principle is bread pudding with whiskey sauce – a soft base transformed by a finishing glaze. The idea is the same: allow sauce and base to connect in timing and flavor, and you elevate the entire experience.
Print
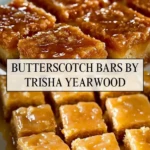
Butterscotch Bars – Soft, Saucy, and Southern Sweet
- Total Time: 35 minutes
- Yield: 16 bars
- Diet: Vegetarian
Description
These Butterscotch Bars offer a buttery, soft texture soaked in a rich, warm sauce that transforms each bite into a Southern-style dessert experience. They’re perfect for family gatherings, potlucks, or anytime you want something cozy and impressive with minimal effort.
Ingredients
1 cup light brown sugar
1/2 cup unsalted butter, melted
2 large eggs
1 teaspoon vanilla extract
1 cup all-purpose flour
1/4 teaspoon salt
1/2 cup unsalted butter
1/2 cup light brown sugar
1/3 cup heavy cream
1/2 teaspoon vanilla extract
Instructions
1. Preheat your oven to 350°F (175°C) and grease an 8×8-inch baking pan.
2. In a large mixing bowl, combine 1 cup light brown sugar and 1/2 cup melted unsalted butter until smooth.
3. Add in 2 eggs and 1 teaspoon vanilla extract; stir to incorporate.
4. Fold in 1 cup all-purpose flour and 1/4 teaspoon salt just until no dry streaks remain.
5. Pour the batter into the prepared pan and smooth the top.
6. Bake for 22–25 minutes or until the edges are set and a toothpick inserted comes out clean or with moist crumbs.
7. While the bars bake, make the sauce: in a saucepan, melt 1/2 cup butter with 1/2 cup brown sugar over medium heat.
8. Stir in 1/3 cup heavy cream and bring to a gentle boil. Let simmer for 2–3 minutes until slightly thickened, then remove from heat and add 1/2 teaspoon vanilla.
9. Let the bars cool for 5–8 minutes out of the oven, then pour the warm sauce evenly over the surface.
10. Let bars cool completely before slicing for clean edges, or enjoy slightly warm for a gooier texture.
Notes
Always pour the sauce while it’s still warm so it seeps into the bars just right.
To cut clean bars, let them cool fully and wipe your knife between slices.
Heavy cream is essential for the glaze—milk won’t thicken the same way.
- Prep Time: 10 minutes
- Cook Time: 25 minutes
- Category: Dessert
- Method: Baking
- Cuisine: Southern
Nutrition
- Serving Size: 1 bar
- Calories: 210
- Sugar: 18g
- Sodium: 90mg
- Fat: 12g
- Saturated Fat: 7g
- Unsaturated Fat: 4g
- Trans Fat: 0g
- Carbohydrates: 25g
- Fiber: 0g
- Protein: 2g
- Cholesterol: 50mg
Keywords: butterscotch bars, Trisha Yearwood, dessert, easy baking