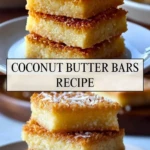
These Coconut Butter Bars are everything you want from a comforting dessert bar—chewy, golden-edged, rich with real butter, and brimming with toasty coconut flavor. Designed for both ease and excellence, this recipe balances pantry-staple convenience with bakery-style results.
What you’ll learn in making these bars goes beyond just mixing ingredients. You’ll understand how to achieve that just-right buttery base without it turning greasy, how to work with coconut so it doesn’t overwhelm the texture, and why baking time is your best tool for balancing chew and crisp. This recipe addresses the all-too-common issue of bars that fall apart when cut or that turn cakey instead of chewy.
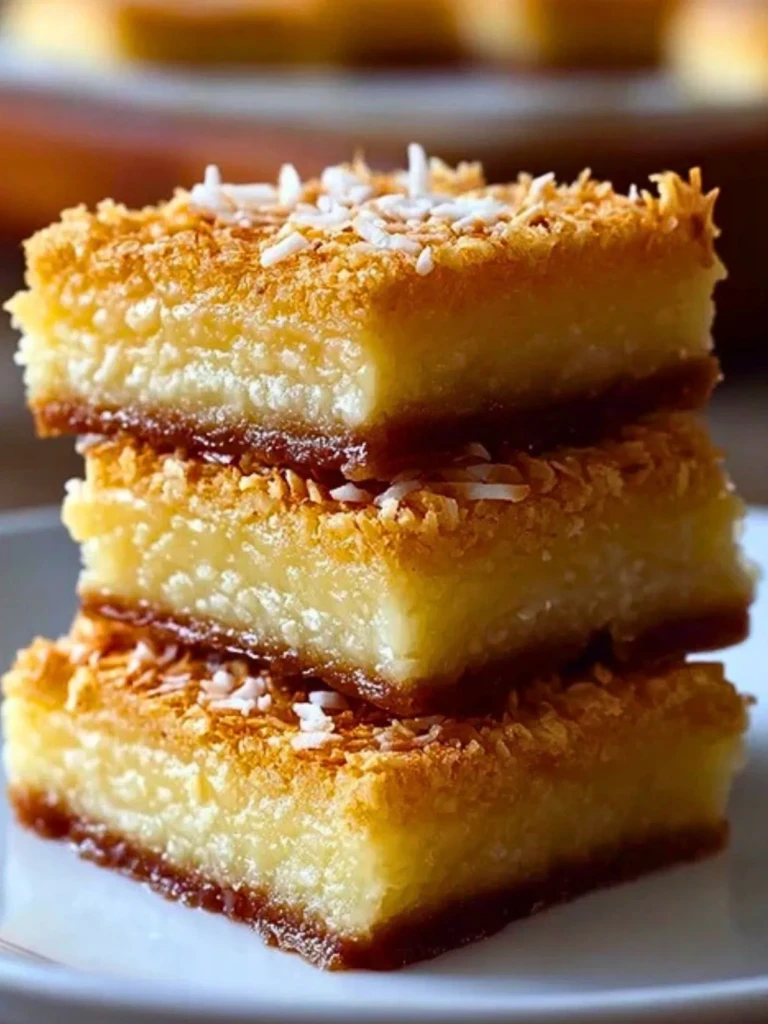
Unlike overly sweet commercial coconut bars that lack depth, this version builds a rich profile with browned edges and a subtly creamy center. It lives somewhere between a blondie and a coconut macaroon, with a toasty top and a fudge-like chew. It’s especially rewarding when you see the clean slices reveal golden layers and a softly set interior.
By the time you set these on the table, you’ll feel like you’ve unlocked a baker’s secret—one that always delivers, whether for holiday trays, bake sales, or a cozy afternoon treat with coffee.

Ingredients for the Coconut Butter Bars
The foundation of these bars begins with butter, and it matters that it’s unsalted. Salted butter can vary in sodium content, and for a recipe like this where richness and structure are at the core, you want to control salt precisely. Melted butter allows for a denser texture compared to creamed, so we start there to create a fudgy base rather than a fluffy one.
Sugar plays a dual role here. Granulated sugar gives structure and that faint crisp along the edges, while sweetened condensed milk adds moisture and a silky chewiness that amplifies the coconut’s natural richness. The condensed milk also provides a subtle caramel undertone as it bakes, making the bars taste more complex than they are.
All-purpose flour stabilizes the mixture. It’s just enough to hold everything together without leaning into cake territory. I tested versions with almond flour and gluten-free blends, and while almond flour adds pleasant flavor, it does make the bars more crumbly. Stick with classic flour unless dietary needs require a swap.
Eggs are essential for binding, and I use one whole egg with an additional yolk to boost tenderness without making the bars rubbery. The yolk helps maintain that lush, bite-through texture that separates chewy bars from dry ones.
Shredded coconut is the signature ingredient. I prefer unsweetened fine-shred coconut, which integrates better and avoids the candy-like effect of sweetened flakes. Toasting some of the coconut for the topping adds a nutty aroma and a delicate crunch that finishes the bars with contrast.
A touch of vanilla extract ties everything together, enhancing the perception of sweetness without additional sugar. You can add a drop of coconut extract if you want a more intense flavor, but I recommend restraint—too much and it starts to taste artificial.
The result is a cohesive mix of rich, creamy, and chewy textures—each ingredient playing a clear role in function and flavor. If you’ve ever made lemon bars or blondies, this process will feel familiar, but with a distinct coconut twist.
Choosing Between Sweetened and Unsweetened Coconut
One of the most defining decisions in this recipe is whether to use sweetened or unsweetened shredded coconut—and it dramatically affects the outcome. I tested both extensively to understand how each performs under heat and within the overall structure of the bars.
Sweetened coconut brings additional moisture and stickiness due to the added sugar and preservatives, which can be helpful in some dessert bars, especially when you want a gooier bite. However, in this case, it pushes the sweetness too far and competes with the sweetened condensed milk, which already provides ample sweetness and chew.
Unsweetened shredded coconut offers more control. It allows the flavor of real coconut to shine without turning the dessert into something cloying. The texture is drier, which is ideal for a bake like this because it absorbs just enough moisture to soften during baking without breaking down entirely. It gives the bars their signature toothsome bite while letting the butter and milk take the lead.
If sweetened coconut is all you have, you can still make these bars—but reduce the sugar slightly and expect a softer, more macaroon-like texture. That version will be more nostalgic and candy-like, but less refined in structure.
For the most balanced, bakery-quality bar, unsweetened coconut is the better choice. It highlights texture, supports structure, and pairs harmoniously with the buttery richness without overwhelming it.
The Mixing Method That Protects the Chewy Center
The secret to these Coconut Butter Bars is how you mix. This isn’t a creaming recipe. We’re not going for lift or fluff—we’re building density and chew. That’s why I use melted butter, not softened, and whisk it directly with the sugar and sweetened condensed milk before adding the eggs. This ensures the sugar begins to dissolve early and binds smoothly into the fats, promoting a chewy texture that bakes evenly without pockets of dryness.
When adding the eggs, I switch from a whisk to a spatula. Overbeating at this stage can lead to a spongier texture, which we’re trying to avoid. Stir just until the yolks are fully integrated. Then gently fold in the flour followed by the shredded coconut. Folding prevents the batter from developing gluten too aggressively, which would toughen the bars.
The batter should look thick but pourable, glossy but not oily. If you’re using a glass pan, it helps to line it with parchment to prevent overbrowning. Metal pans conduct heat better and may give crisper edges, but either pan works well if you monitor closely near the end of baking.
Bake until the center no longer jiggles and the top is deeply golden—the color signals caramelization, which boosts both flavor and chew. An underbaked center will be too gooey to hold, while overbaking will give you a drier crumb. I recommend checking with a toothpick about two inches from the center. If it comes out with moist crumbs but not batter, they’re ready.
Don’t rush the cooling. The bars need at least an hour to fully set. Cutting them too early will give you a gooey mess instead of the clean, layered slices that make this dessert so rewarding.
Serving and Storing Coconut Butter Bars
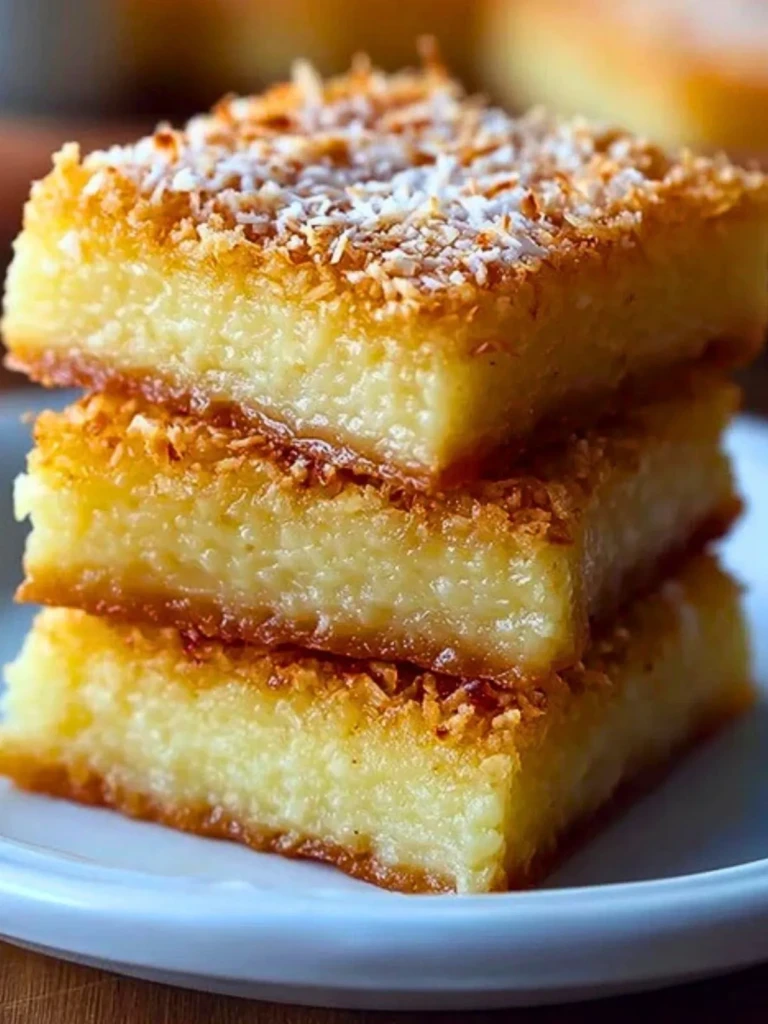
These bars look most impressive when cut into clean squares with crisp edges and a dense, golden interior. To achieve that polished look, I let them cool completely in the pan and refrigerate for about 30 minutes before slicing. A warm knife run under water between cuts helps maintain neat edges without pulling at the coconut.
Presentation-wise, a light sprinkle of toasted coconut on top not only reinforces the flavor but also adds a visually appealing contrast. You can also dust with a tiny bit of powdered sugar, but I find that unnecessary given the richness already present.
Coconut Butter Bars store exceptionally well. At room temperature, they stay chewy for about three days if kept in an airtight container. In the refrigerator, they firm up more but stay moist and delicious for up to a week. I often prefer them chilled, especially for summer gatherings when a firmer texture is appreciated.
They also freeze beautifully. Wrap individual bars in parchment and store in a zip-top bag. Thaw at room temperature for about an hour, and they’ll taste just as fresh. Unlike cakes or cookies that lose their charm after freezing, these bars seem to benefit from it, developing a slightly deeper flavor as they rest.
These same storing techniques apply to similar rich-bar recipes like lemon bars or dulce de leche blondies, where density and chewiness are key traits worth preserving over time.
A Quick Note on Comparisons With Other Bar Desserts
Coconut Butter Bars carve out a unique spot in the world of dessert bars. While they share structural similarities with blondies or lemon bars, their flavor and texture set them apart. Unlike lemon bars, which rely on tang and a delicate curd, or blondies, which lean on brown sugar and chocolate, these bars celebrate coconut as a central, standalone flavor.
Compared to traditional coconut macaroons, these bars are less sugary and far more nuanced. They have a deeper butter base, more balanced sweetness, and a richer, more satisfying texture. Macaroons often border on candy—these bars are unmistakably baked goods, built to hold structure and slice beautifully.
Readers often mention how these remind them of the filling in coconut cream pie, but with the portability of a brownie. That’s precisely the hybrid quality we aim for—creamy yet sliceable, chewy yet not sticky. They fit perfectly on a cookie tray but have enough elegance to serve as a plated dessert with fruit or ice cream.
If you’re drawn to coconut-laced recipes like coconut cream poke cake or coconut pound cake, these bars will feel like a natural, fuss-free cousin with faster prep and neater results. For any coconut lover, they deliver a maximum flavor payoff with minimal complexity—the kind of recipe you make once and then commit to memory.
Print
Coconut Butter Bars – Rich, Chewy, and Perfectly Toasted
- Total Time: 40 minutes
- Yield: 16 bars
- Diet: Vegetarian
Description
Rich, chewy, and deeply coconut-forward, these Coconut Butter Bars bring together a buttery base, toasty golden edges, and a satisfying creamy interior that slices cleanly and stores beautifully. With balanced sweetness and a straightforward method, they’re ideal for make-ahead desserts, gifting, or sharing with coffee.
Ingredients
1 cup unsalted butter, melted
1 cup granulated sugar
1 can (14 ounces) sweetened condensed milk
1 large egg
1 egg yolk
1 teaspoon vanilla extract
1 cup all-purpose flour
2 cups unsweetened shredded coconut
2 tablespoons toasted coconut, for topping (optional)
Instructions
1. Preheat your oven to 350°F (175°C). Line a metal or glass 8×8-inch baking pan with parchment paper, allowing some overhang.
2. In a mixing bowl, whisk together the melted butter, granulated sugar, and sweetened condensed milk until smooth and slightly thickened.
3. Add the egg and egg yolk, stirring gently until fully incorporated. Avoid overmixing.
4. Stir in the vanilla extract, then fold in the flour until just combined.
5. Fold in the shredded coconut until evenly distributed.
6. Pour the batter into the prepared pan and smooth the top with a spatula.
7. Bake for 28 to 32 minutes, or until the top is golden brown and a toothpick inserted 2 inches from the center comes out with moist crumbs.
8. Remove from the oven and allow to cool completely in the pan. Chill for 30 minutes for cleaner slicing.
9. Sprinkle with toasted coconut before serving, if desired.
10. Slice into squares and serve.
Notes
Use unsweetened shredded coconut for better texture control and to avoid overly sweet bars.
Always cool completely before slicing to maintain clean edges and layered structure.
Store in an airtight container at room temperature for 3 days, or refrigerate up to 1 week.
- Prep Time: 10 minutes
- Cook Time: 30 minutes
- Category: Dessert
- Method: Baking
- Cuisine: American
Nutrition
- Serving Size: 1 bar
- Calories: 248
- Sugar: 18g
- Sodium: 40mg
- Fat: 16g
- Saturated Fat: 11g
- Unsaturated Fat: 4g
- Trans Fat: 0g
- Carbohydrates: 24g
- Fiber: 2g
- Protein: 3g
- Cholesterol: 45mg
Keywords: coconut butter bars, chewy coconut bars, easy bar desserts