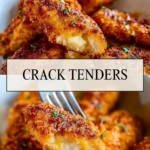
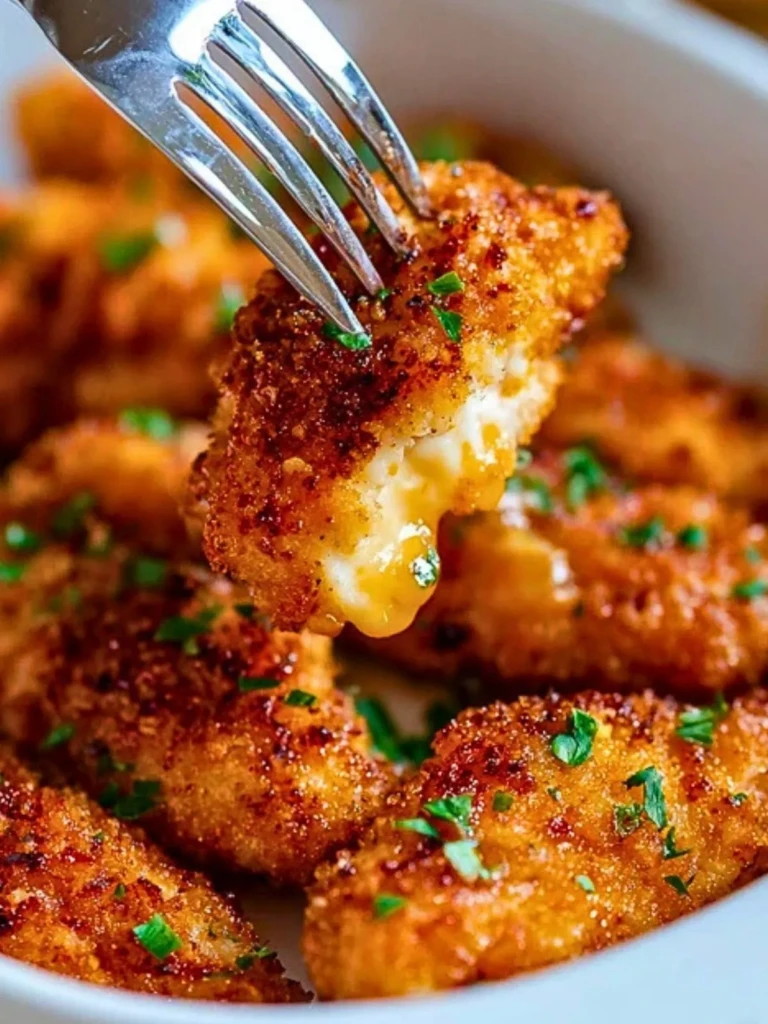
There are chicken tenders, and then there are Crack Tenders. These are the ones that disappear in minutes, the kind you can’t stop eating even when you’re full. They’re golden, ultra-crispy on the outside, juicy and tender inside, and bursting with that perfect balance of savory, buttery, and just a hint of sweet heat. They’re the kind of comfort food that turns into obsession.
What makes these stand apart? It starts with the seasoning blend that gets layered in—not just in the flour, but in the dredge, and even the breadcrumb coating. I don’t stop at one seasoning step, because I want every bite to carry flavor deep into the crust. This isn’t fast food imitation. This is craveable food engineered for maximum impact.
I’ve served these for game nights, for weeknight dinners, and more than a few impromptu neighborhood cookouts. Every time, someone asks for the recipe. They’re the kind of tenders that earn you a reputation. One friend told me, “These taste like Chick-fil-A and Raising Cane’s had a baby… and then that baby got gourmet!” – Danielle M.
They’re versatile too. Sandwiches, salads, wraps, or solo dipped in honey mustard—they hold up beautifully. But straight out of the skillet, when the crust is still snapping with heat and the juices are running? That’s when you understand why they’re called Crack Tenders.


What Makes This Crack Tenders Stand Out
These aren’t your typical tenders. Most homemade versions fall into one of two categories: either dry and bland or greasy and limp. Crack Tenders land in the sweet spot of textural perfection and layered flavor. I built this recipe to deliver on both, with a three-phase seasoning process and a crust that actually stays crisp longer than five minutes out of the pan.
The core trick? A seasoning triple-threat: spice in the flour, the egg wash, and the breadcrumb blend. Most recipes stop at one layer. I don’t. I use smoked paprika, garlic powder, onion powder, cayenne, and a touch of brown sugar to build that addictive balance of spice and sweet. The egg wash includes hot sauce and buttermilk for tang and depth, and the final panko coating gets toasted before the chicken ever hits the oil. That move changes everything.
Compared to other recipes, the structural integrity of these tenders is unmatched. The crust doesn’t slide off, the inside stays moist (thanks to a 30-minute buttermilk soak), and the seasoning isn’t one-note. I’ve made plenty of crispy chicken recipes over the years. This one—especially with the finishing drizzle of melted butter mixed with honey and chili flakes—hits a level I’d call dangerously good.
Skill-wise, you don’t need culinary training. Just some patience with the breading station and attention to your oil temp. I use a thermometer clipped to my cast iron skillet to make sure the oil hovers right around 350°F. If you keep that in check, you’re set up for success.
Buttermilk vs. Regular Milk – Which Is Better?
Let’s talk about one of the first decisions you’ll make: what liquid to soak the chicken in. I’ve tested both regular whole milk and cultured buttermilk for the marinade. They both tenderize, but the outcomes are noticeably different.
In my notes: Regular milk does a decent job of softening the meat, but it lacks the acidity to really penetrate and break down the proteins. Buttermilk, on the other hand, brings both tang and tenderness. Its slight sourness boosts the flavor in the final bite, and the thicker texture clings better to the chicken, forming a better base for the breading. When I used whole milk, I found the coating didn’t adhere quite as well and the flavor was flatter.
The winner? Buttermilk, every time. I use a 30-minute minimum soak—longer if I can. And I whisk in hot sauce during this step too. Not just for heat, but because vinegar-based hot sauces work with the buttermilk to open up the chicken and get it ready to absorb all the layers of seasoning that follow.
If you’re tempted to skip this and go straight to the breading, don’t. The marinade is the foundation of flavor here. It’s not just about moisture retention—though that’s huge. It’s about priming the chicken to lock in all the magic that’s coming.
Why I Recommend 1 Cup Buttermilk + 1 Tbsp Hot Sauce
I landed on this ratio after testing everything from plain buttermilk to heavy spice blends in the marinade. The 1 cup to 1 tablespoon ratio gives you the ideal acidity-to-heat balance. It loosens up the chicken without overpowering the palate, and it subtly seasons the inside before you even touch the breading.
I’ve tried doubling the hot sauce. The flavor was too sharp and actually dried the chicken a bit after frying. I’ve also tested skipping the hot sauce completely—those batches always felt like they were missing something. The 1 tablespoon acts like a flavor enhancer, not a fire-starter. I tend to use Frank’s RedHot or Crystal for their vinegar-forward profiles. You want that bright zing, not just heat.
Use the Right Breading Tools for Best Results
Here’s where a lot of good tenders go wrong: soggy or uneven crust. I always use a classic three-bowl dredging station and assign one hand dry and one hand wet. It sounds basic, but it saves your breading from clumping.
And let’s talk breadcrumbs. Panko is my top choice—especially the kind from Kikkoman, which has the perfect airy flake. I toast it dry in a skillet before coating the tenders. That pre-toast gives you a head start on golden color and makes the final fry faster and crispier. I’ve tried untoasted panko, Italian breadcrumbs, and even crushed cornflakes. Nothing beats toasted panko in both structure and flavor.
Finishing Drizzle: Buttery, Sweet Heat and Never Skipped
This is the kicker. I mix 2 tablespoons melted butter with 1 tablespoon honey and a pinch of red pepper flakes. As soon as the tenders come out of the oil, they get hit with this warm drizzle.
I’ve tried the recipe without it once. Never again. It’s not just a garnish—it ties the whole dish together. That touch of fat and sweetness rounds out the salt and spice from the crust. It also gives you that signature glossy finish that makes these tenders photo-worthy before anyone takes a bite.
How to Fry for a Crispy Crust and Juicy Center
Start with a heavy-bottomed pan—I use a 10-inch cast iron skillet because it holds heat evenly and doesn’t cool down when the tenders hit the oil. I clip a thermometer to the side and keep the oil steady between 350°F and 365°F. That range gives you a perfect crust without drying out the meat.
Use about 1/2 inch of oil. You don’t need to deep-fry, but the tenders should be able to float and not touch the bottom too soon. I use canola or peanut oil for their high smoke points and neutral flavor.
Cook in batches and don’t overcrowd the pan—3 to 4 tenders max at a time. Flip once, after about 3 minutes per side. You’re looking for deep golden color and bubbles slowing down around the edges. That’s your signal the crust has locked in.
After frying, I drain on a wire rack over a baking sheet. Not paper towels. The rack keeps the crust crisp while excess oil drips away. Let them rest for 5 minutes before drizzling with the butter-honey blend.
If your oil drops below 325°F, stop and wait. Frying in cold oil means soggy crust, undercooked chicken, and excess oil absorption. It’s better to go slower and keep the temp stable than rush and ruin the batch.
How Long It Lasts and How to Store This Crack Tenders
These are best eaten fresh—ideally within 20 minutes of frying when the crust is still crackling. But if you’re planning ahead or end up with leftovers (rare, but it happens), they hold up well with a few tricks.
Store them in a single layer in an airtight container lined with paper towels to absorb any residual moisture. In the fridge, they stay good for up to 3 days. Reheat in a 375°F oven on a wire rack for about 10 minutes to restore the crunch. Microwaving will zap the crispness—don’t do it.
You can also freeze them after frying. Let them cool completely, freeze on a baking sheet, then transfer to freezer bags. Reheat straight from frozen at 400°F for 15-18 minutes. The crust won’t be quite as perfect, but it still beats most takeout.
Other Chicken Recipes I Bake Just As Often
When I’m not making Crack Tenders, I lean into Oven-Baked Nashville Hot Chicken for a spicier, drier-rubbed heat. My Buttermilk Chicken Biscuit Sliders are a go-to for brunch spreads. For lighter fare, I’ve built a killer Crispy Chicken Salad with a yogurt-based ranch. And when I’m after bold comfort, I turn to Sweet Heat Chicken Thighs roasted in a honey-sriracha glaze.
Pin This Recipe and Come Back to It Anytime
If this one becomes your go-to (and I think it will), pin it to your “Weeknight Wins” or “Crowd Favorites” boards. I’d love to hear how you season your breading or if you riff on the finishing drizzle. Leave a comment with your hot sauce of choice—or if you try a spicy maple twist instead of honey.
Equipment Notes That Make a Difference
Cast Iron Skillet: Holds heat better than stainless or nonstick, essential for even browning.
Instant-Read Thermometer: Crucial for managing oil temp—guessing leads to soggy results.
Wire Rack: Keeps fried tenders elevated so steam doesn’t kill the crunch.
Toaster Skillet: For pre-toasting panko before coating. It adds that extra golden boost even before frying.
Print
Crack Tenders
- Total Time: 45 minutes
- Yield: 4 servings
Description
Crispy, juicy, flavor-packed chicken tenders that deliver a triple-layered seasoning punch, a buttery sweet heat finish, and a crunchy toasted panko crust that stays crisp. These Crack Tenders are addictively good and built for serious comfort-food cravings.
Ingredients
1 pound chicken tenderloins
1 cup buttermilk
1 tablespoon hot sauce (Frank’s RedHot or Crystal)
1 cup all-purpose flour
1 teaspoon smoked paprika
1 teaspoon garlic powder
1 teaspoon onion powder
1/2 teaspoon cayenne pepper
1/2 teaspoon brown sugar
1 teaspoon salt
1/2 teaspoon black pepper
2 large eggs
1 1/2 cups panko breadcrumbs
1/2 cup canola oil (for frying)
2 tablespoons unsalted butter
1 tablespoon honey
1 pinch red pepper flakes
Instructions
1. Soak chicken tenderloins in a mixture of 1 cup buttermilk and 1 tablespoon hot sauce for at least 30 minutes.
2. Set up a dredging station with three bowls: flour with seasonings, beaten eggs, and toasted panko breadcrumbs.
3. Toast the panko in a dry skillet over medium heat until golden, then let cool.
4. Mix flour with smoked paprika, garlic powder, onion powder, cayenne, brown sugar, salt, and pepper.
5. Beat eggs in a second bowl.
6. In the third bowl, add the toasted panko.
7. Remove chicken from the marinade. Dredge each piece in flour, then egg, then panko, pressing gently to adhere.
8. Heat 1/2 inch of oil in a cast iron skillet to 350°F.
9. Fry chicken in batches, 3-4 minutes per side, until deep golden brown.
10. Transfer to a wire rack to drain and rest 5 minutes.
11. Melt butter and mix with honey and red pepper flakes.
12. Drizzle the butter-honey mixture over hot tenders before serving.
Notes
Pre-toast your panko to guarantee a deep, golden crust without overfrying.
Always use a wire rack instead of paper towels to keep tenders crisp.
Use an oil thermometer—temperature control makes or breaks the crust.
- Prep Time: 30 minutes
- Cook Time: 15 minutes
- Category: Chicken
- Method: Frying
- Cuisine: American
Nutrition
- Serving Size: 2 tenders
- Calories: 460
- Sugar: 4g
- Sodium: 580mg
- Fat: 24g
- Saturated Fat: 6g
- Unsaturated Fat: 15g
- Trans Fat: 0g
- Carbohydrates: 29g
- Fiber: 1g
- Protein: 33g
- Cholesterol: 105mg
Keywords: crack tenders, fried chicken tenders, crispy chicken