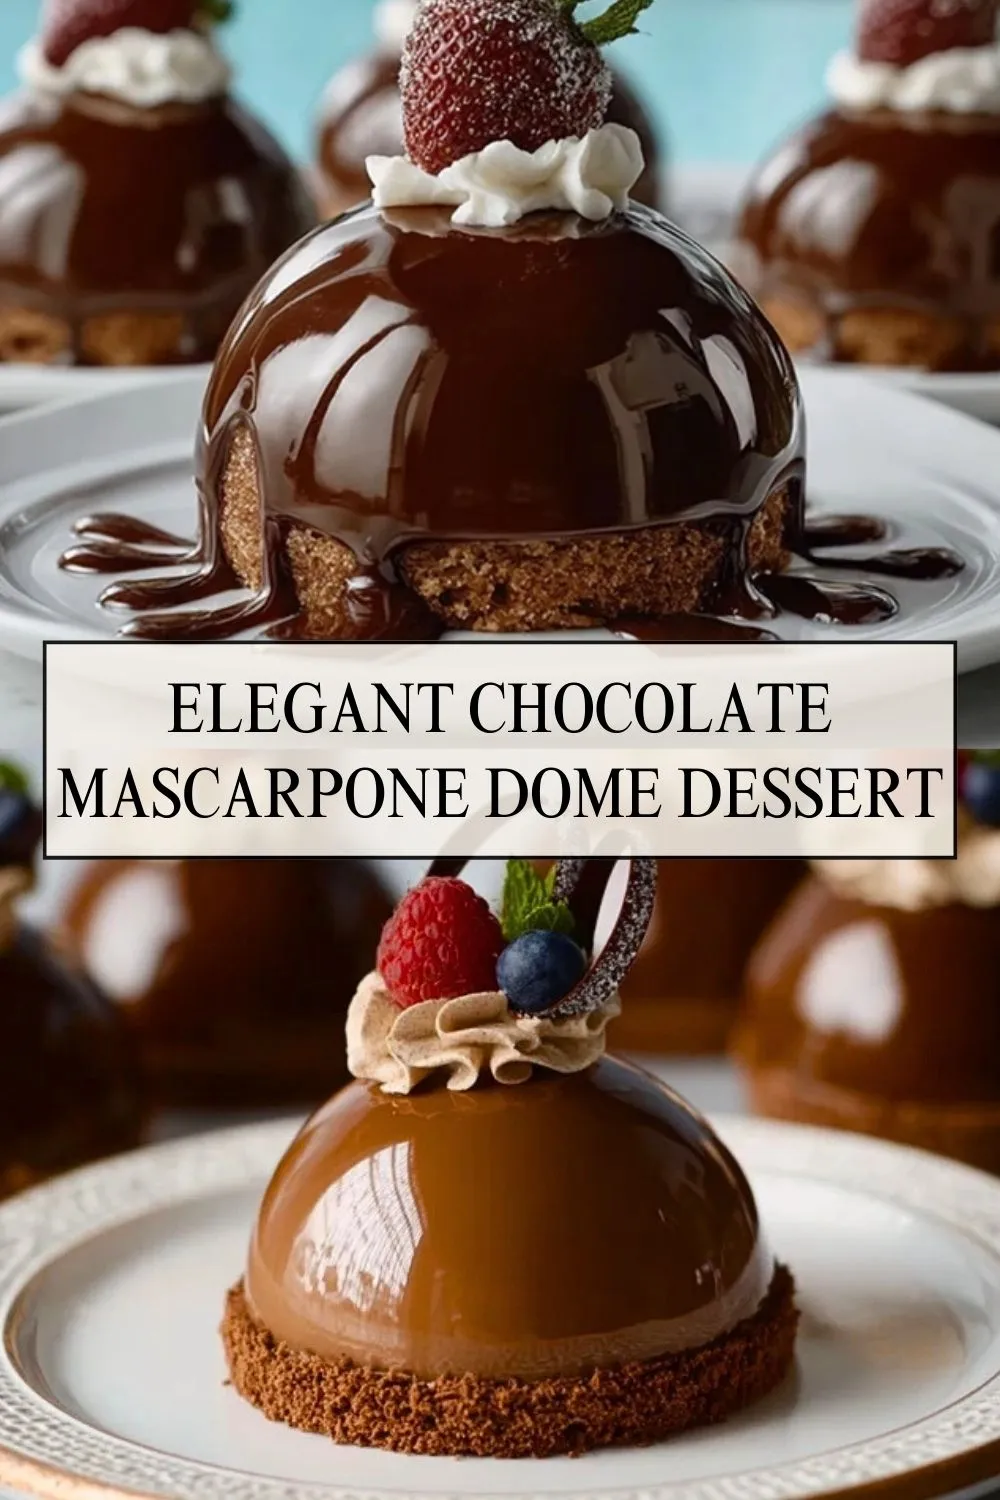
Imagine setting down a plate of glossy chocolate domes that look like they came straight from a high-end patisserie. Under that mirror-like glaze is a cloud of mascarpone mousse, all perched on a crisp chocolate cookie base that gives just the right snap with every bite.

This dessert is designed for special occasions but planned with home bakers in mind. You can tackle it in relaxed stages—bake the bases, whip the mascarpone, freeze the domes, then finish with that dramatic pour of chocolate glaze right before serving. It’s elegant, make-ahead friendly, and a guaranteed conversation starter.
Why You’ll Love This Elegant Chocolate Mascarpone Dome Dessert
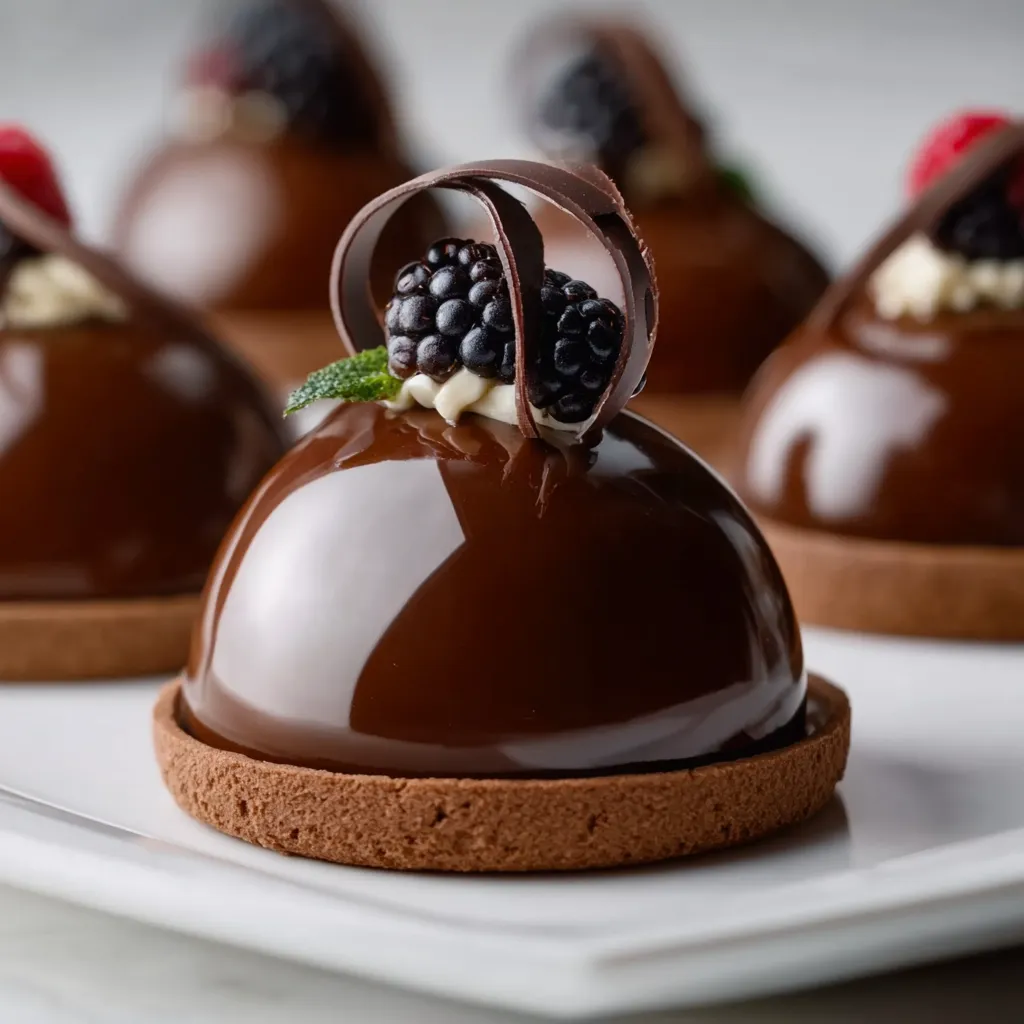
These domes give you the best of every texture: a buttery chocolate cookie base, silky mascarpone filling, and a tender layer of mirror glaze that melts on the tongue. Each spoonful feels luxurious without being heavy.
They’re also surprisingly practical. The domes live happily in the freezer until you’re ready to glaze, which means you can have a showstopping dessert fully prepped before your guests even arrive. No last-minute scrambling—just pull them out, pour the glaze, and garnish.
Do You Need Special Molds for These Chocolate Mascarpone Domes?
Silicone half-sphere molds make this recipe feel effortless. They release the frozen domes cleanly, giving you that smooth, rounded shape that takes the mirror glaze beautifully.
If you don’t own dome molds, you still have options. Small metal or ceramic bowls lined with plastic wrap, or even silicone muffin molds, can work in a pinch. The shape may be a bit more rustic, but once they’re coated in glaze and topped with berries and chocolate curls, they’ll still look stunning.
Ingredients for the Elegant Chocolate Mascarpone Dome Dessert
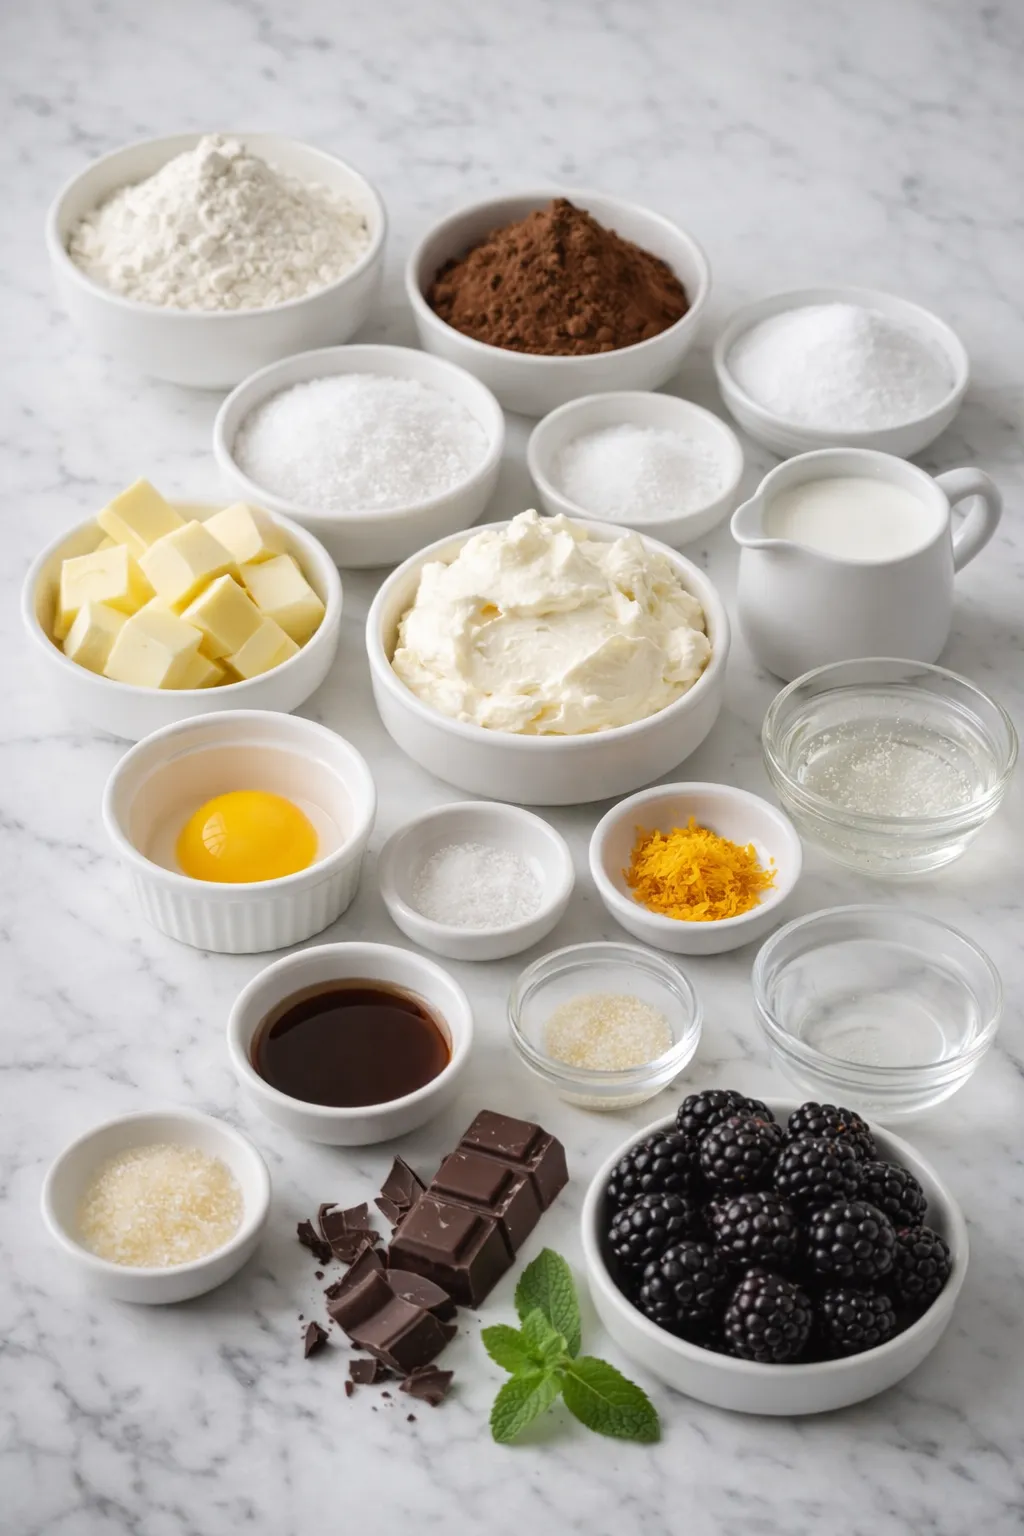
Before you begin, take a moment to read through the ingredients so you understand how each piece builds the final dessert. We’re creating three main components: a chocolate cookie base, creamy mascarpone domes, and a glossy chocolate mirror glaze, plus a few simple garnishes that bring everything together.
For the chocolate cookie bases
- All-purpose flour – Forms the structure of the cookie base while keeping it tender.
- Unsweetened cocoa powder – Adds deep chocolate flavor and a rich color that matches the glaze.
- Granulated sugar – Sweetens the dough and helps the edges bake up lightly crisp.
- Fine sea salt – Balances the sweetness and sharpens the chocolate notes.
- Unsalted butter – Provides richness and that buttery snap when the bases cool.
- Egg yolk – Binds the dough and adds extra tenderness.
- Vanilla extract – Rounds out the flavor so the cookies don’t taste flat.
For the mascarpone domes
- Mascarpone cheese – The star of the filling, giving it an ultra-creamy, slightly tangy base.
- Heavy whipping cream – Whipped to soft peaks so the domes set light and airy rather than dense.
- Powdered sugar – Sweetens the filling while dissolving smoothly into the mascarpone.
- Vanilla extract – Adds warmth and depth to the mousse.
- Powdered gelatin and cold water – Helps the domes hold their shape once unmolded, especially helpful if you’re serving in a warm room.
- Orange zest (optional) – A hint of citrus brightness that cuts through the richness and pairs beautifully with chocolate.
For the chocolate mirror glaze
- Water – Forms the base of the syrup that will be enriched with cocoa and cream.
- Granulated sugar – Sweetens the glaze and helps it set to a soft, sliceable texture.
- Light corn syrup or glucose syrup – Gives the glaze shine and keeps it from crystallizing.
- Heavy cream – Adds body and a touch of richness so the glaze tastes like real chocolate, not just cocoa.
- Unsweetened cocoa powder – Provides deep chocolate flavor and that gorgeous dark color.
- Powdered gelatin and cold water – Allow the glaze to cling smoothly to the frozen domes and set with a high-gloss finish.
For decorating
- Dark chocolate – Used to make simple curls or shards that echo the flavors of the glaze.
- Fresh blackberries – Add juicy, tangy contrast to all the creaminess.
- Fresh mint leaves – A pop of color and freshness that makes each dome look finished and intentional.
How To Make the Elegant Chocolate Mascarpone Dome Dessert
This dessert comes together in layers, but each component is simple on its own. Think of it as three mini projects: bake the base, whip the filling, then glaze and decorate. Give yourself time for chilling and freezing, and the actual hands-on work will feel surprisingly easy.
Step 1: Make and bake the chocolate cookie bases
Prepare your tart or cookie base by whisking together the flour, cocoa powder, sugar, and salt in a bowl. Cut in the cold butter until the mixture looks like fine crumbs.
Add the egg yolk and vanilla and gently bring the dough together just until it forms a smooth ball. Avoid overworking so the finished bases stay tender.
Roll the dough between sheets of parchment, then cut circles slightly larger than the diameter of your dome molds. Lay them on a lined baking sheet and chill briefly to help them keep their shape.
Bake the cookie circles until they are set at the edges but still slightly soft in the center. They will firm up as they cool. Transfer to a rack and let them cool completely.
Step 2: Prepare the mascarpone mousse filling
Bloom the powdered gelatin for the filling in cold water and let it stand until it has absorbed the liquid and turned spongy.
In a chilled bowl, whip the heavy cream to soft peaks, then slide the bowl into the refrigerator while you prepare the mascarpone so it stays cold.
In a separate bowl, whisk the mascarpone with powdered sugar, vanilla, and orange zest (if using) until smooth and silky. Gently melt the bloomed gelatin—either over a warm water bath or in short bursts in the microwave—and whisk it into the mascarpone mixture.
Fold the whipped cream into the mascarpone in two or three additions, using a spatula and a light hand so you don’t deflate all the air you just whipped in.
Step 3: Fill the molds and freeze the domes
Set your silicone dome molds on a flat tray so they’re easy to move. Spoon or pipe the mascarpone mousse into each cavity, filling to the top and smoothing the surface.
Tap the tray firmly on the counter to knock out any air bubbles, then cover and transfer to the freezer. Freeze until the domes are very firm—at least 4 hours, or overnight.
Step 4: Make the chocolate mirror glaze
While the domes freeze, prepare the glaze. Bloom the gelatin for the glaze in cold water and set aside.
In a saucepan, combine the water, sugar, and corn syrup or glucose. Bring just to a simmer, stirring to dissolve the sugar. Whisk in the cocoa powder until no lumps remain.
Pour in the cream and simmer gently for a minute or two, stirring, until the mixture is smooth and glossy. Remove from the heat and stir in the bloomed gelatin until it has fully melted.
Strain the glaze through a fine-mesh sieve into a heatproof jug to remove any bubbles or cocoa specks. Let it cool, stirring occasionally, until it reaches pouring temperature—about blood warm and still fluid.
Step 5: Glaze the frozen domes
Place a wire rack over a rimmed tray to catch excess glaze. Unmold the frozen mascarpone domes and set them on the rack, flat side down.
When the glaze has cooled to the right temperature, pour it in one smooth motion over each dome, starting at the top and letting it run down the sides. Resist the urge to overwork it; the glaze will level itself into a shiny coat.
Let the domes sit for a few minutes so excess glaze can drip away, then use an offset spatula to carefully transfer each dome onto a cooled chocolate cookie base.
Step 6: Decorate and serve
While the glaze is still just slightly tacky, top each dome with a few chocolate curls, a cluster of fresh blackberries, and a small mint leaf.
Refrigerate the assembled domes until they are no longer frozen solid but still nicely chilled and set. Bring them to the table on a platter or individual plates when you’re ready to wow your guests.
How to Serve These Elegant Chocolate Mascarpone Domes
This recipe makes about 6 individual domes, perfect for a small dinner party or special family celebration. Each dome is rich enough that one serving feels generous without being overly heavy.
Serve the domes chilled but not rock-hard—about 20 minutes out of the refrigerator tends to be just right. The cookie base will still be crisp, the mascarpone center will soften to a luscious mousse, and the glaze will slice cleanly with a dessert fork or spoon.
For a restaurant-style presentation, drizzle a little berry coulis or raspberry sauce on the plate, add a scattering of extra blackberries, and finish with a light dusting of cocoa or powdered sugar.
How to Store the Elegant Chocolate Mascarpone Dome Dessert
Because these domes are built on frozen mousse, they’re wonderfully flexible to store. You can keep the unglazed, frozen domes in an airtight container for up to 1 month. Simply unmold them, freeze on a tray until solid, then transfer to a container with parchment between layers.
The baked chocolate cookie bases are best stored separately at room temperature in an airtight tin for up to 3 days. This way, they stay crisp and don’t absorb moisture from the mousse or glaze.
Once glazed and assembled, the domes should be kept in the refrigerator. They’ll hold their shape and shine for about 24 hours, though the cookie base will gradually soften. For the very best texture, glaze and decorate the same day you plan to serve.
If you need to work even further ahead, you can glaze the domes while still frozen and then refrigerate them, covered, for several hours before serving. Avoid storing fully assembled domes in the freezer once glazed, as the texture of the glaze and berries can suffer.
Frequently Asked Questions
Can I make these domes completely ahead of time?
Yes. The mascarpone domes can be made and frozen up to a month in advance, and the cookie bases can be baked 2–3 days ahead. For the prettiest presentation, glaze and decorate within a day of serving.
Do I have to use gelatin in the mascarpone filling and glaze?
Gelatin is what gives both the mousse and mirror glaze their clean, firm shape. Omitting it will make the domes much softer and the glaze less likely to cling. If you don’t use gelatin, treat this as more of a layered mousse dessert served in glasses rather than a freestanding dome.
What if my mirror glaze isn’t shiny?
Dull glaze usually means the temperature was off. If it’s too hot, it can slide right off; too cool and it can set before it smooths out. Aim for warm but not hot—when you can comfortably hold your finger in a small dab for a few seconds.
Can I change the flavor of the mascarpone filling?
Absolutely. Swap the orange zest for lemon, stir in a spoonful of hazelnut spread, or fold in finely chopped dark chocolate for a stracciatella-style mousse. Just keep the overall ratios of mascarpone, cream, and gelatin the same so the domes still set properly.
What can I use instead of blackberries on top?
Raspberries, strawberries, or even thin slices of poached pear work beautifully. You can also keep things minimalist with only chocolate curls and a mint leaf if fresh berries aren’t available.
Want More Chocolate Dessert Ideas?
If you love these glossy chocolate domes, you’ll probably enjoy these other Mad For Meals favorites:
- Rocky Road Brownies for a gooey tray of marshmallow-studded chocolate comfort.
- Bubbly Bold Cherry Chocolate Cake when you’re craving a dramatic chocolate layer cake with a fruity twist.
- German Chocolate Pie for a sliceable mash-up of brownie, pie, and coconut-pecan topping.
- Chocolate Truffles when you want bite-sized, rich chocolate treats that pair perfectly with coffee or after-dinner drinks.
Save This Pin For Later
📌 Save this decadent dessert to your Pinterest dessert board so you can come back to it anytime you need a special-occasion showstopper.
And when you make it, come back and let me know how your domes turned out. Did you stick with blackberries or try raspberries? Did you keep the orange zest or swap in another flavor?
I love hearing how you make these recipes your own. Questions are always welcome too—let’s help each other create desserts that look bakery-level but feel totally doable at home. For even more sweet inspiration, follow my Mad For Meals Pinterest board where I share new dessert ideas and daily recipe inspiration.
Elegant Chocolate Mascarpone Dome Dessert
- Total Time: 240
- Yield: 6 domes
- Diet: Vegetarian
Description
These Elegant Chocolate Mascarpone Domes are a glossy, make-ahead dessert with a crisp chocolate cookie base, cloud-soft mascarpone mousse, and a rich mirror-glaze finish that looks straight out of a pastry shop but is totally doable as an easy recipe at home; whether you’re planning dessert ideas after a quick breakfast or easy dinner, browsing food ideas for a special occasion, experimenting with a healthy snack lineup, or collecting breakfast ideas and dinner ideas for guests, this showstopper fits right in.
Ingredients
1 cup (130 g) all-purpose flour
1/4 cup (25 g) unsweetened cocoa powder
1/3 cup (70 g) granulated sugar
1/4 teaspoon fine sea salt
1/2 cup (115 g) unsalted butter, cold and cubed
1 large egg yolk
1 teaspoon vanilla extract
8 ounces (225 g) mascarpone cheese, cold
1 cup (240 ml) heavy whipping cream, cold
1/3 cup (40 g) powdered sugar
1 teaspoon vanilla extract for filling
1 teaspoon powdered gelatin
2 tablespoons cold water for blooming
1 teaspoon finely grated orange zest (optional)
1/2 cup (120 ml) water for glaze
1 cup (200 g) granulated sugar for glaze
1/2 cup (160 g) light corn syrup or glucose
1/2 cup (120 ml) heavy cream for glaze
1/2 cup (50 g) unsweetened cocoa powder for glaze
2 1/2 teaspoons powdered gelatin for glaze
3 tablespoons cold water for glaze
18 fresh blackberries
2 ounces (60 g) dark chocolate for curls
Fresh mint leaves for garnish
Instructions
1. Make the chocolate cookie dough by whisking flour, cocoa powder, sugar, and salt, then cutting in cold butter until sandy.
2. Add the egg yolk and vanilla, gently bringing the dough together without overworking it.
3. Chill the dough briefly, then roll it out and cut circles slightly larger than your silicone dome molds.
4. Bake the cookie bases until just set, then cool completely on a rack.
5. Bloom the gelatin for the mascarpone mousse in cold water and let it stand for a few minutes.
6. Whip the cold heavy cream to soft peaks, then chill while you whisk mascarpone, powdered sugar, vanilla, and orange zest until smooth.
7. Warm the bloomed gelatin just until melted, whisk it into the mascarpone mixture, then gently fold in the whipped cream.
8. Fill silicone dome molds with the mascarpone mousse, tapping the tray to remove air pockets, and freeze until very firm.
9. Prepare the chocolate mirror glaze by simmering water, sugar, corn syrup, and cream, then whisking in cocoa powder until smooth.
10. Add the bloomed gelatin for the glaze, strain if needed, and cool to about 90 F so it is still pourable but not hot.
11. Unmold the frozen domes onto a wire rack set over a tray and pour the mirror glaze in one smooth motion to coat each dome.
12. Let excess glaze drip off, then carefully transfer each dome onto a chocolate cookie base.
13. Decorate the domes with dark chocolate curls, fresh blackberries, and mint leaves just before serving.
14. Refrigerate the assembled domes until slightly softened but still chilled before presenting.
Notes
Make the domes a day ahead so they have plenty of time to freeze and glaze without stress on serving day.
For the shiniest mirror glaze, use a digital thermometer and pour only when the glaze cools to about 90 F so it clings instead of sliding off.
If you do not have silicone dome molds, you can use small ramekins lined with plastic wrap; the shape will be more rustic but still beautiful.
- Prep Time: 45
- Cook Time: 15
- Category: Dessert
- Method: Chilled Dessert
- Cuisine: European
Nutrition
- Serving Size: 1 dome
- Calories: 550
- Sugar: 40
- Sodium: 140
- Fat: 36
- Saturated Fat: 22
- Unsaturated Fat: 12
- Trans Fat: 0
- Carbohydrates: 51
- Fiber: 3
- Protein: 7
- Cholesterol: 135
Keywords: chocolate mascarpone dome, elegant dessert, mirror glaze, dinner party dessert, make ahead dessert, easy recipe, dessert ideas, food ideas