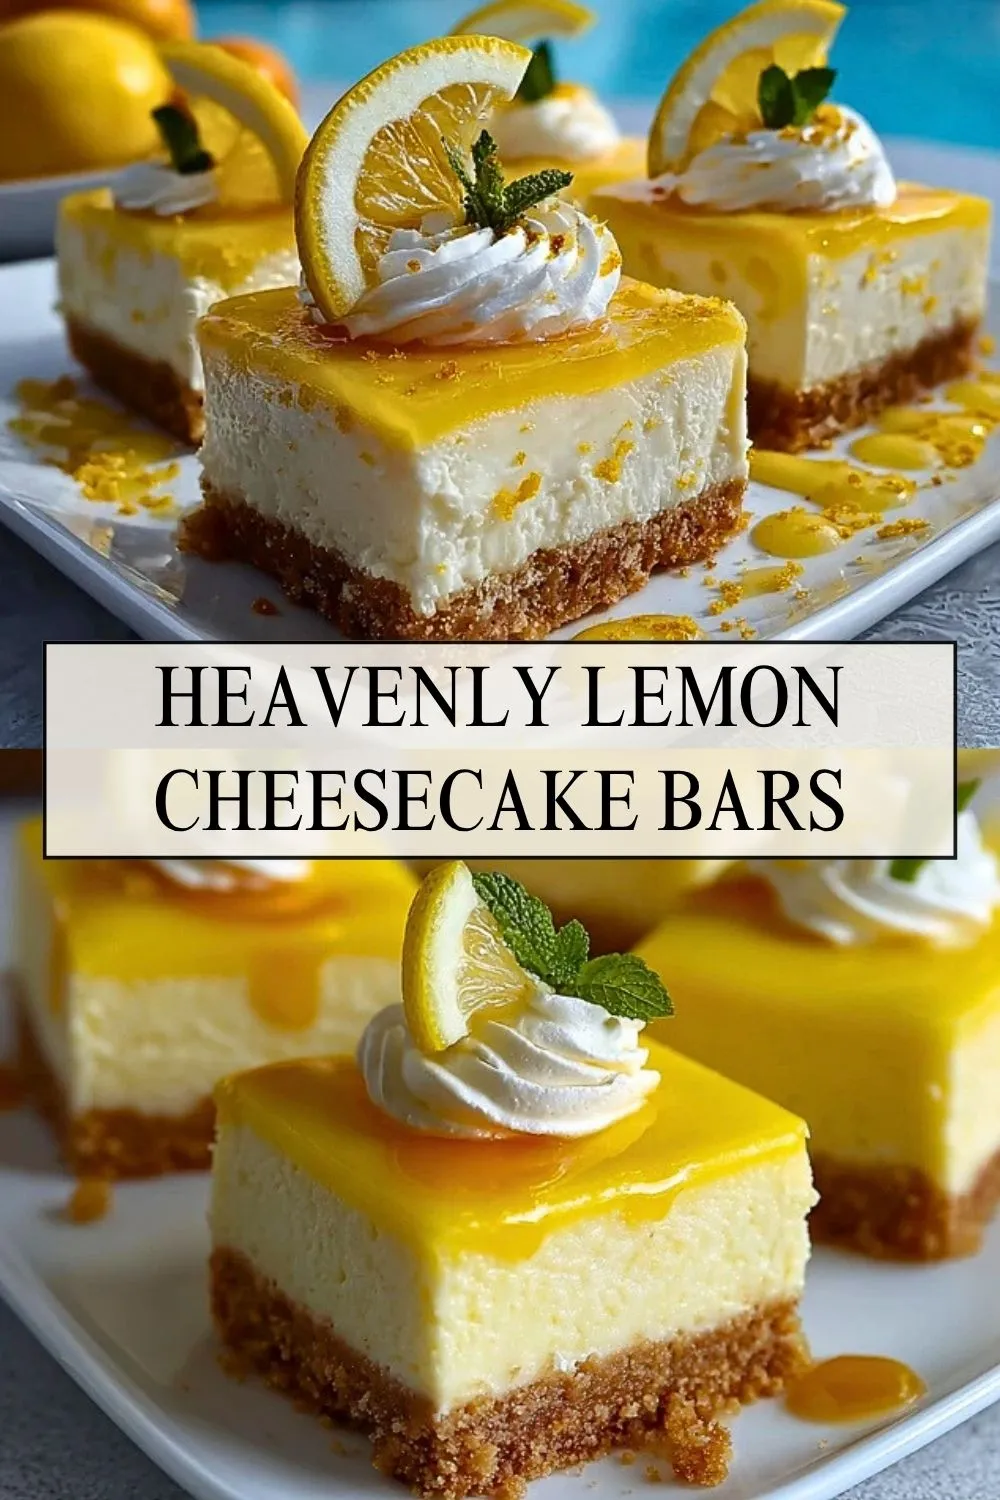
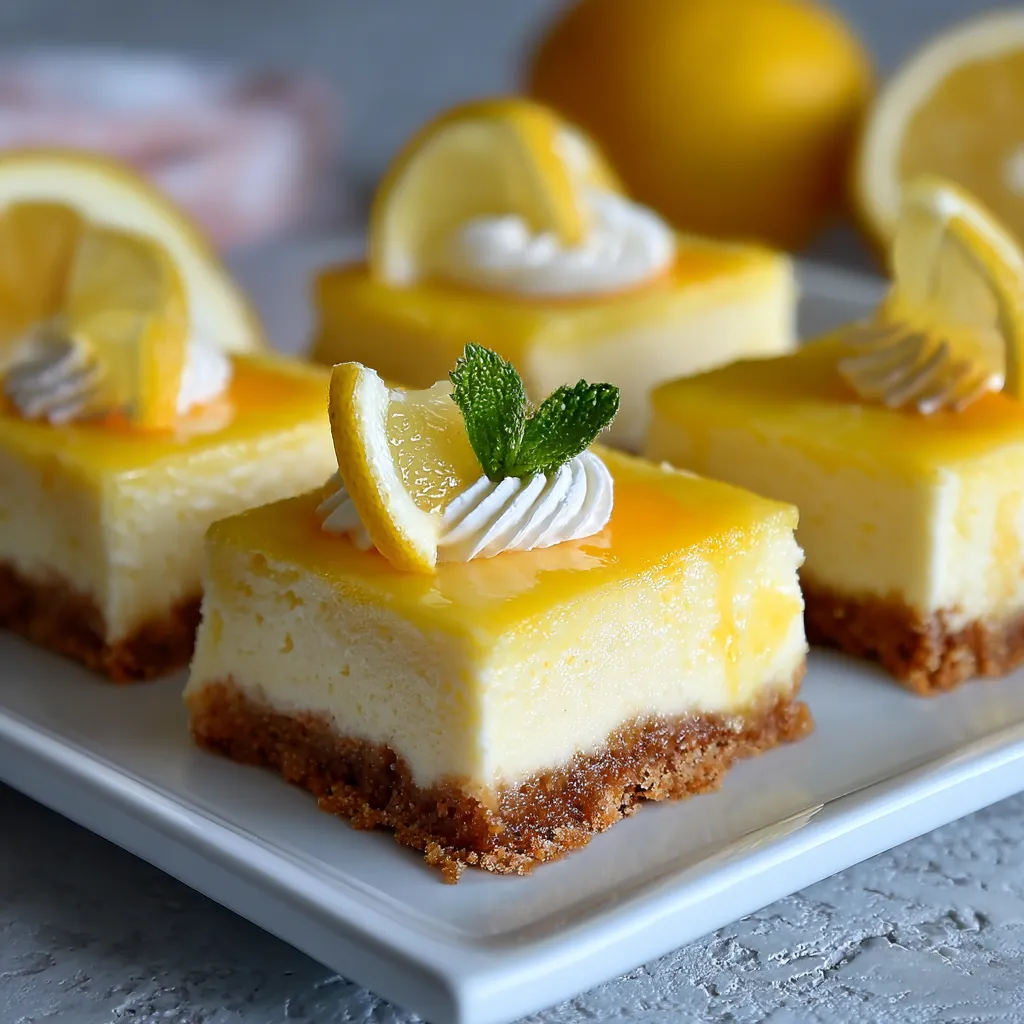
Bright, creamy, and irresistibly smooth, these Heavenly Lemon Cheesecake Bars bring together everything people love about a classic cheesecake in a simpler, sliceable dessert. Each square starts with a buttery crumb crust, gets topped with a velvety lemon cheesecake filling, and finishes with a glossy citrus layer that makes every bite feel fresh and light.

They are the kind of dessert that looks elegant on a platter but feels completely doable for home bakers. Whether you are making them for spring gatherings, baby showers, brunch spreads, holiday dessert tables, or just because you are craving something tangy and sweet, these bars deliver a bakery-style result without the stress of a full round cheesecake.
Why You’ll Love These Heavenly Lemon Cheesecake Bars
These bars have that perfect balance of richness and brightness that makes lemon desserts so hard to resist. The cheesecake layer is lush and creamy, but the lemon keeps it from feeling heavy. Because they are made in bar form, they are also easier to chill, cut, serve, and transport than a traditional cheesecake.
Another reason to love them is how versatile they are. They feel special enough for celebrations, yet simple enough to make ahead for a weekend treat. You get clean slices, a beautiful layered look, and a flavor that stands out on any dessert table.
What Makes Heavenly Lemon Cheesecake Bars So Good?
It comes down to contrast. You get a crisp, buttery crust underneath a soft cheesecake center, then a pop of lemon flavor that wakes everything up. The sweetness is mellow, the tang is fresh, and the texture is smooth from edge to edge.
These bars also chill beautifully, which helps the flavor settle and deepen. After a few hours in the refrigerator, the layers firm up just enough for neat squares while still staying creamy and delicate inside.
Ingredients for the Heavenly Lemon Cheesecake Bars
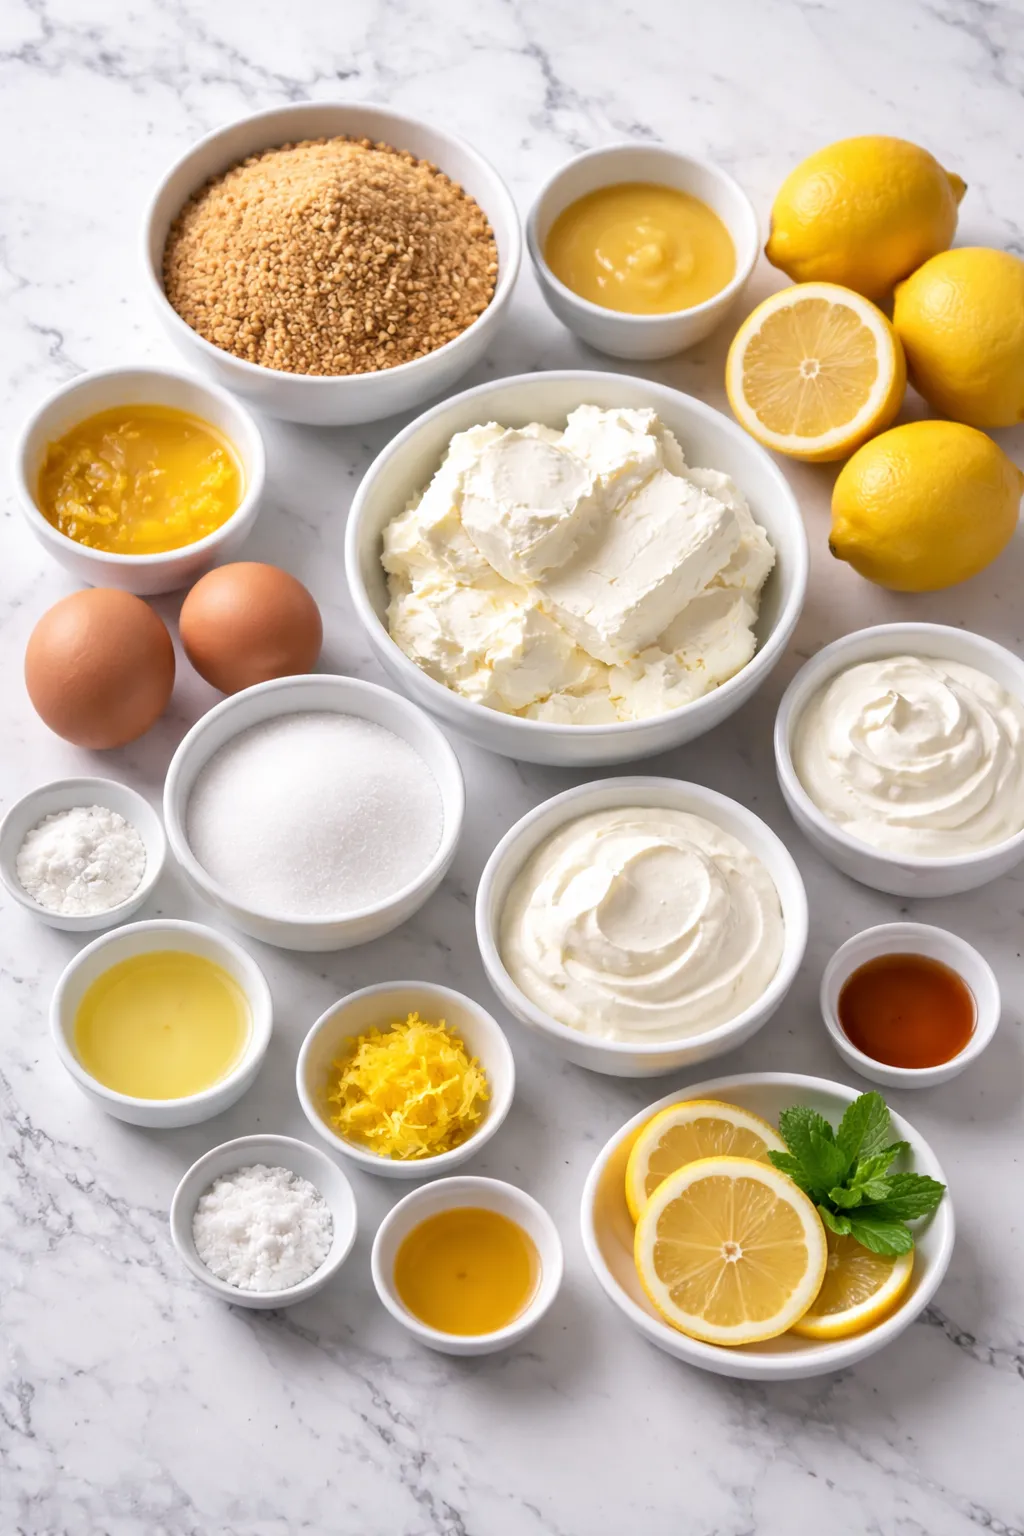
The ingredient list is simple, but every item plays an important role in creating that balanced texture and flavor.
Graham cracker crumbs form the base of the crust and bring a sweet, toasty flavor that pairs naturally with citrus.
Butter binds the crumbs together and helps the crust bake into a firm, rich foundation.
Granulated sugar sweetens both the crust and the filling while supporting the overall structure of the bars.
Cream cheese is the heart of the dessert, giving the filling its signature tangy richness and smooth body.
Eggs help the cheesecake set properly and create that silky, custard-like texture.
Sour cream softens the richness of the cream cheese and adds an extra creamy finish.
Fresh lemon juice gives the bars their bright, clean citrus flavor and makes them taste lively instead of overly sweet.
Lemon zest adds deeper lemon aroma and a more intense citrus character than juice alone.
Vanilla extract rounds out the filling and smooths the sharper edges of the lemon.
Cornstarch helps stabilize the cheesecake filling so the bars hold their shape once chilled.
Lemon curd creates that glossy top layer and adds a concentrated burst of sunny lemon flavor.
Whipped cream makes a beautiful garnish and adds a soft, airy contrast when serving.
Lemon slices give the finished bars a fresh, eye-catching presentation.
Mint leaves are optional, but they add a pretty touch of color and make the bars look extra polished.
How To Make the Heavenly Lemon Cheesecake Bars
The process is straightforward, and a little patience during chilling is what gives you those clean, stunning slices.
Step 1: Prepare the Pan
Line an 8×8-inch baking pan with parchment paper, leaving a little overhang on the sides so the bars can be lifted out easily later. Lightly grease the paper if needed for extra insurance.
Step 2: Build the Crust
Combine the graham cracker crumbs, melted butter, and a little sugar until the texture looks like wet sand. Press the mixture firmly into the bottom of the prepared pan, making sure the layer is even all the way to the corners. Bake briefly until set and lightly fragrant, then let it cool slightly.
Step 3: Make the Lemon Cheesecake Filling
Beat the softened cream cheese until completely smooth with no lumps remaining. Add the sugar and mix until creamy, then blend in the sour cream, lemon juice, lemon zest, vanilla, and cornstarch. Add the eggs one at a time, mixing on low just until incorporated so the filling stays smooth without too much air.
Step 4: Fill and Smooth
Pour the cheesecake mixture over the cooled crust and spread it into an even layer. Gently tap the pan on the counter to release any trapped air bubbles.
Step 5: Bake Until Just Set
Bake the bars until the edges look set and the center has only a slight jiggle. Avoid overbaking, since cheesecake continues to firm up as it cools. A gently baked filling stays much creamier after chilling.
Step 6: Cool Gradually
Let the bars cool at room temperature first. Once they are no longer warm, transfer the pan to the refrigerator and chill until fully set. This step is essential for clean cuts and the best texture.
Step 7: Add the Lemon Finish
When the bars are cold, spread a thin, even layer of lemon curd over the top. This gives them their glossy finish and an extra hit of lemon flavor.
Step 8: Slice and Garnish
Lift the chilled cheesecake slab from the pan using the parchment overhang. Cut into neat bars with a sharp knife, wiping the blade between cuts for cleaner edges. Top with whipped cream, small lemon slices, and mint if you want the same elegant look shown in the finished dessert.
Best Ways to Serve Heavenly Lemon Cheesecake Bars
These Heavenly Lemon Cheesecake Bars are best served cold, straight from the refrigerator, when the filling is firm and creamy at the same time. They fit beautifully on dessert platters for spring lunches, Easter spreads, brunch parties, bridal showers, and summer dinners. Their citrus flavor also makes them a lovely finish after richer meals, since they taste refreshing instead of overly heavy.
For a simple presentation, serve them as-is in clean squares. For a more dressed-up dessert plate, add a swirl of whipped cream and a thin lemon wedge on top. This recipe comfortably feeds 9 people if cut into generous bakery-style bars, or up to 12 people if sliced a little smaller for a dessert table.
How to Store Heavenly Lemon Cheesecake Bars
These bars should be stored in the refrigerator because of the dairy-based filling. Place them in an airtight container, or keep them in the pan tightly covered, and refrigerate for up to 5 days. If you are stacking them, place parchment paper between layers so the tops stay neat.
For the cleanest texture, wait to add whipped cream garnish until just before serving. The bars themselves hold very well, and the lemon flavor often tastes even better on the second day once everything has had time to settle.
You can also freeze them. Chill the bars completely, slice them, and place them on a tray until firm. Then wrap each piece or separate layers with parchment inside a freezer-safe container. Freeze for up to 2 months. Thaw overnight in the refrigerator before serving. The texture stays best when the bars are thawed slowly rather than at room temperature.
Frequently Asked Questions
1. Can I use bottled lemon juice instead of fresh lemon juice?
You can, but fresh lemon juice gives a brighter and cleaner flavor. Bottled juice works in a pinch, yet the bars will taste more vibrant and natural when fresh juice and zest are used together.
2. Why did my cheesecake bars crack?
Cracks usually happen when the filling is overmixed or overbaked. Mixing in too much air can make the bars puff and then sink as they cool. Baking just until the center barely jiggles helps keep the surface smooth.
3. How do I get clean slices?
The biggest secret is chilling the bars completely before cutting. Use a sharp knife, wipe it clean between slices, and cut with a gentle downward motion instead of dragging through the filling.
4. Can I make Heavenly Lemon Cheesecake Bars ahead of time?
Yes, and they are actually even better when made ahead. Preparing them the day before serving gives the filling time to firm up and lets the lemon flavor settle beautifully.
5. Can I change the topping?
Absolutely. Lemon curd gives the brightest finish, but you can also top the bars with whipped cream only, fresh berries, candied lemon peel, or a light dusting of powdered sugar for a different look.
Want More Dessert Ideas?
If these Heavenly Lemon Cheesecake Bars are your kind of treat, you might enjoy a few more sweet favorites from Mad For Meals:
- Lemon Custard Cake for another bright citrus dessert with a soft, delicate texture.
- Coconut Butter Bars if you love rich dessert bars with a chewy finish.
- Rocky Road Brownies when you are craving something fudgy, gooey, and chocolate loaded.
- Cinnamon Roll Cheesecake for a cozy cheesecake twist with warm bakery flavor.
Save This Pin For Later
📌 Save these Heavenly Lemon Cheesecake Bars to your Pinterest dessert board so you can come back to them any time.
And let me know in the comments how yours turned out. Did you go extra tangy with more zest? Did you top them with whipped cream, lemon curd, or both?
I always love seeing how these desserts end up in real kitchens. For even more sweet inspiration, browse more recipe ideas on Mad For Meals on Pinterest.
Heavenly Lemon Cheesecake Bars
- Total Time: 4 hours 55 minutes
- Yield: 9 bars
- Diet: Vegetarian
Description
These Heavenly Lemon Cheesecake Bars are a bright, creamy, easy dessert with a buttery graham cracker crust, smooth lemon cheesecake filling, and a glossy citrus topping. They are perfect for spring gatherings, holiday dessert tables, quick party desserts, easy baking projects, and sweet food ideas when you want a fresh lemon treat that feels special but is simple to make.
Ingredients
1 1/2 cups graham cracker crumbs
6 tablespoons unsalted butter, melted
2 tablespoons granulated sugar
16 ounces cream cheese, softened
2/3 cup granulated sugar
2 large eggs
1/3 cup sour cream
1/4 cup fresh lemon juice
1 tablespoon lemon zest
1 teaspoon vanilla extract
1 tablespoon cornstarch
1/3 cup lemon curd
1/2 cup whipped cream, for garnish
1 lemon, thinly sliced for garnish
Mint leaves, for garnish
Instructions
1. Preheat the oven to 325°F and line an 8×8-inch baking pan with parchment paper, leaving overhang on the sides for easy lifting.
2. In a bowl, mix the graham cracker crumbs, melted butter, and 2 tablespoons sugar until evenly combined.
3. Press the crust mixture firmly into the bottom of the prepared pan and bake for 8 minutes. Let it cool slightly.
4. In a large bowl, beat the softened cream cheese until completely smooth.
5. Add 2/3 cup sugar and mix until creamy, then blend in the sour cream, lemon juice, lemon zest, vanilla extract, and cornstarch.
6. Add the eggs one at a time, mixing on low speed just until combined.
7. Pour the filling over the crust and smooth the top evenly.
8. Bake for 30 to 35 minutes, or until the edges are set and the center still has a slight jiggle.
9. Let the bars cool completely at room temperature, then refrigerate for at least 4 hours or until fully chilled.
10. Spread the lemon curd over the top of the chilled bars.
11. Lift the cheesecake out of the pan, slice into bars, and garnish with whipped cream, lemon slices, and mint leaves before serving.
Notes
Use fully softened cream cheese so the filling stays smooth and lump-free.
Do not overmix after adding the eggs, because too much air can cause cracks while baking.
For the cleanest slices, chill the bars completely and wipe the knife between each cut.
- Prep Time: 20 minutes
- Cook Time: 35 minutes
- Category: Dessert
- Method: Baking
- Cuisine: American
Nutrition
- Serving Size: 1 bar
- Calories: 356
- Sugar: 21g
- Sodium: 252mg
- Fat: 24g
- Saturated Fat: 14g
- Unsaturated Fat: 8g
- Trans Fat: 0g
- Carbohydrates: 31g
- Fiber: 1g
- Protein: 5g
- Cholesterol: 92mg
Keywords: heavenly lemon cheesecake bars, lemon cheesecake bars, easy lemon dessert, creamy cheesecake bars, graham cracker crust dessert, spring dessert, party dessert, easy recipe, dessert ideas, food ideas